13 Kitchen Countertop Makeover Ideas That Actually Work
I love my kitchen, but those tired countertops were starting to bring down the whole room. A full replacement wasn’t in the budget, so I went on a mission to find clever, stylish makeovers. What I discovered was a world of amazing DIY and pro solutions that can completely transform your space without a full remodel.
From quick weekend projects to more involved upgrades, there’s an idea here for every style and skill level. Let’s dive into my favorite ways to give your counters a fresh, new life.
1. The Magic of Peel-and-Stick Tiles
This was my first experiment, and I was shocked by the results. Modern peel-and-stick vinyl tiles have come a long way. They now mimic materials like marble, travertine, and concrete with stunning realism.
It’s a perfect rental-friendly or budget option. The key is meticulous surface prep—clean, dry, and smooth. I started with a small section behind the sink to test it out, and the transformation was instant. It’s durable for light to medium use and so easy to change up later.
2. A Classic Coat of Paint
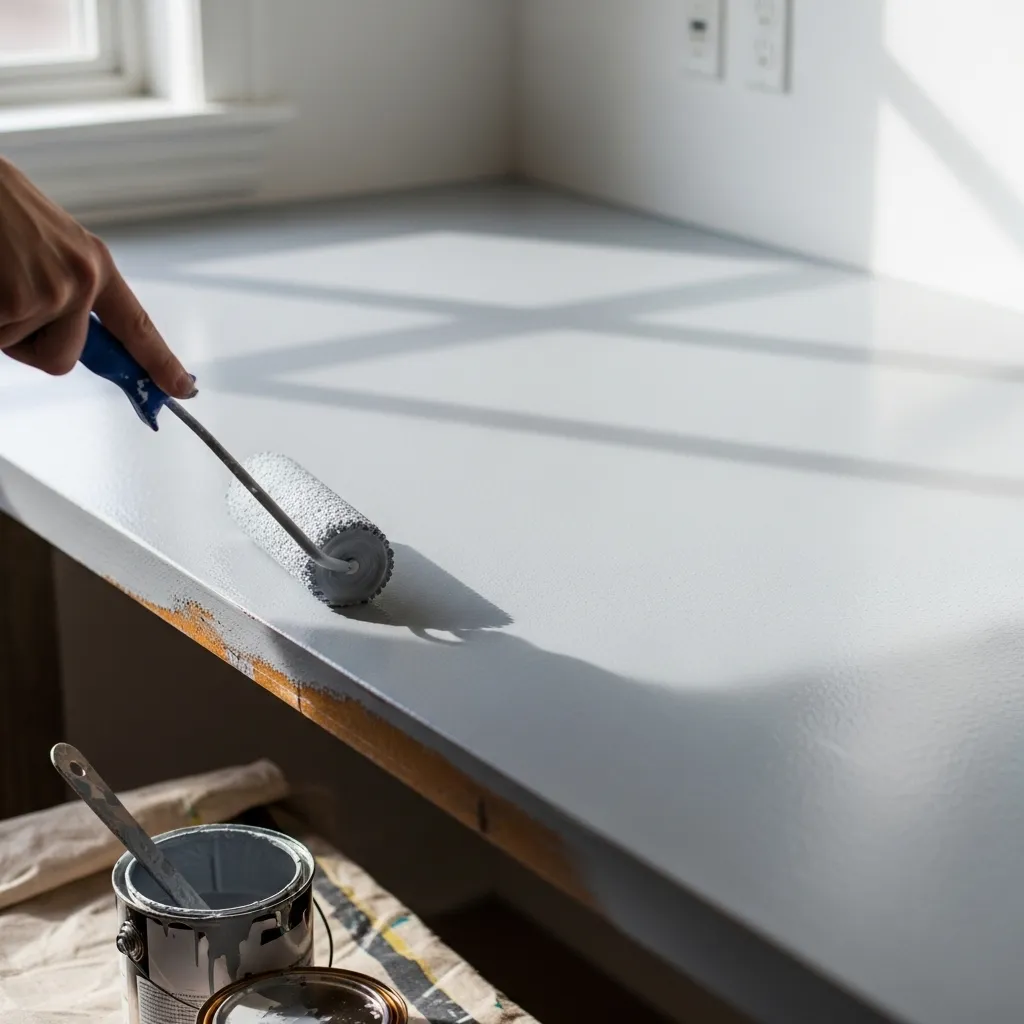
Don’t underestimate the power of paint! For laminate counters, specially formulated countertop paint kits are a game-changer. They often include primer, color, and a protective top coat.
I went with a soft, matte gray that made my kitchen look modern and expensive. The process involves light sanding, careful priming, and multiple thin coats. The finished look feels solid and is surprisingly wipeable. It’s a commitment of a weekend for a huge payoff.
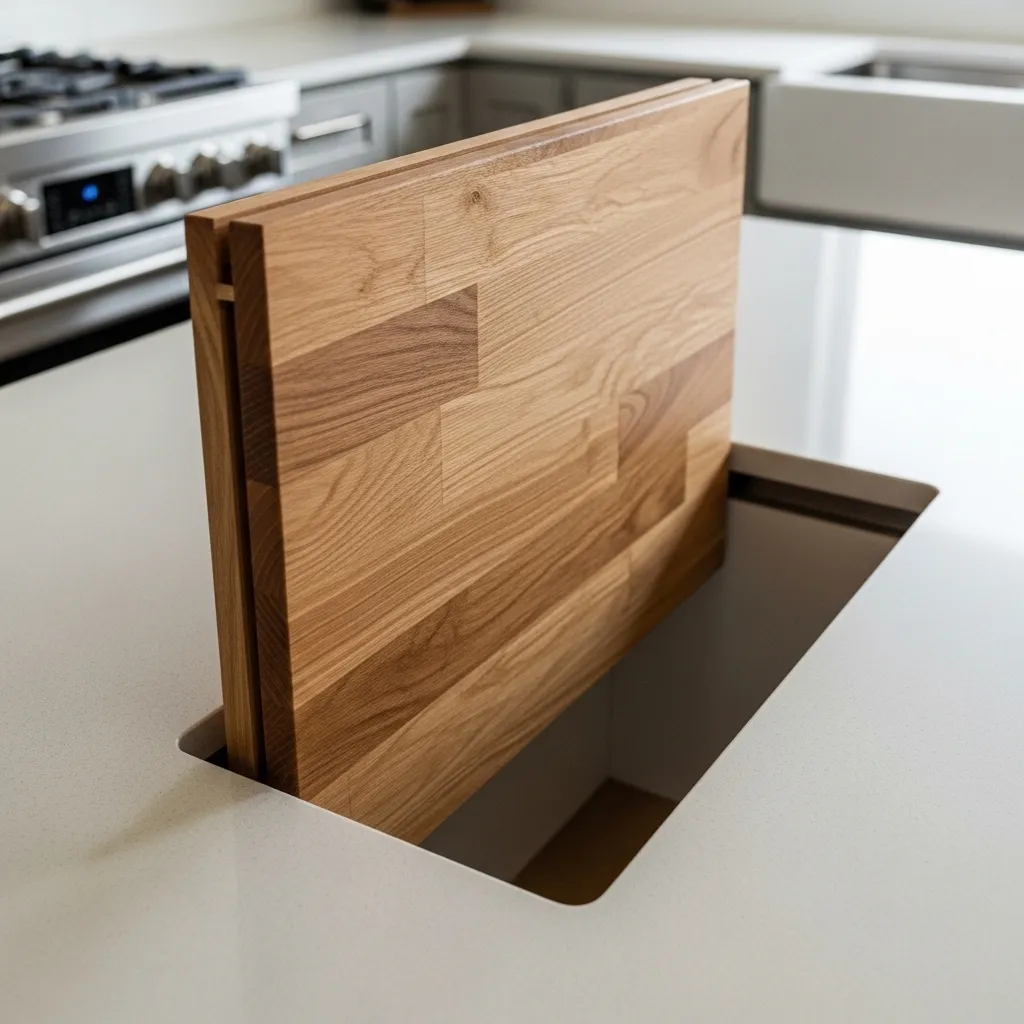
3. Create a Butcher Block Insert
I adore the warmth of wood in a kitchen. Instead of covering all my counters, I created a custom butcher block insert for my baking station. I bought a pre-finished slab, cut it to size, and sealed it with food-safe oil.
This gives me a dedicated, functional prep area and adds beautiful texture contrast. It’s perfect for rolling dough or chopping veggies right on the surface. This focal point idea is less work and cost than doing the whole kitchen.
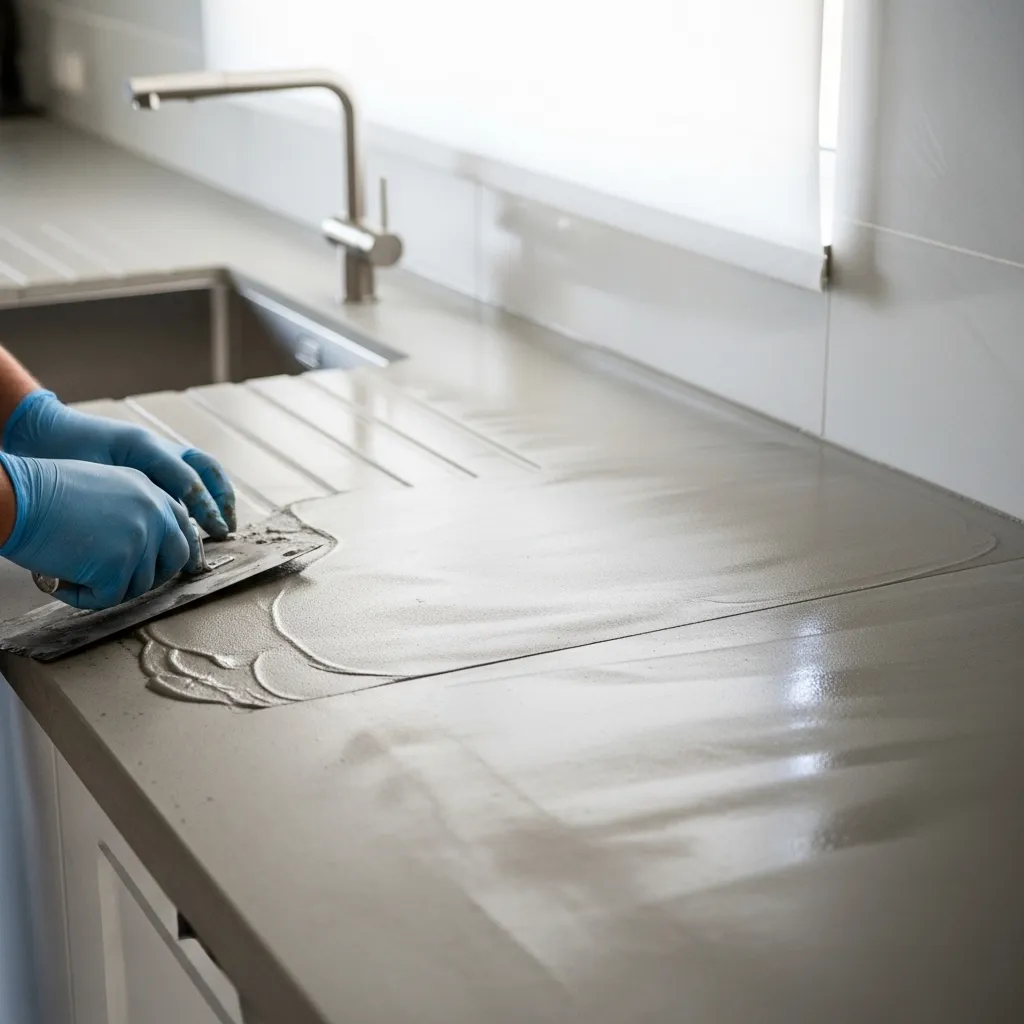
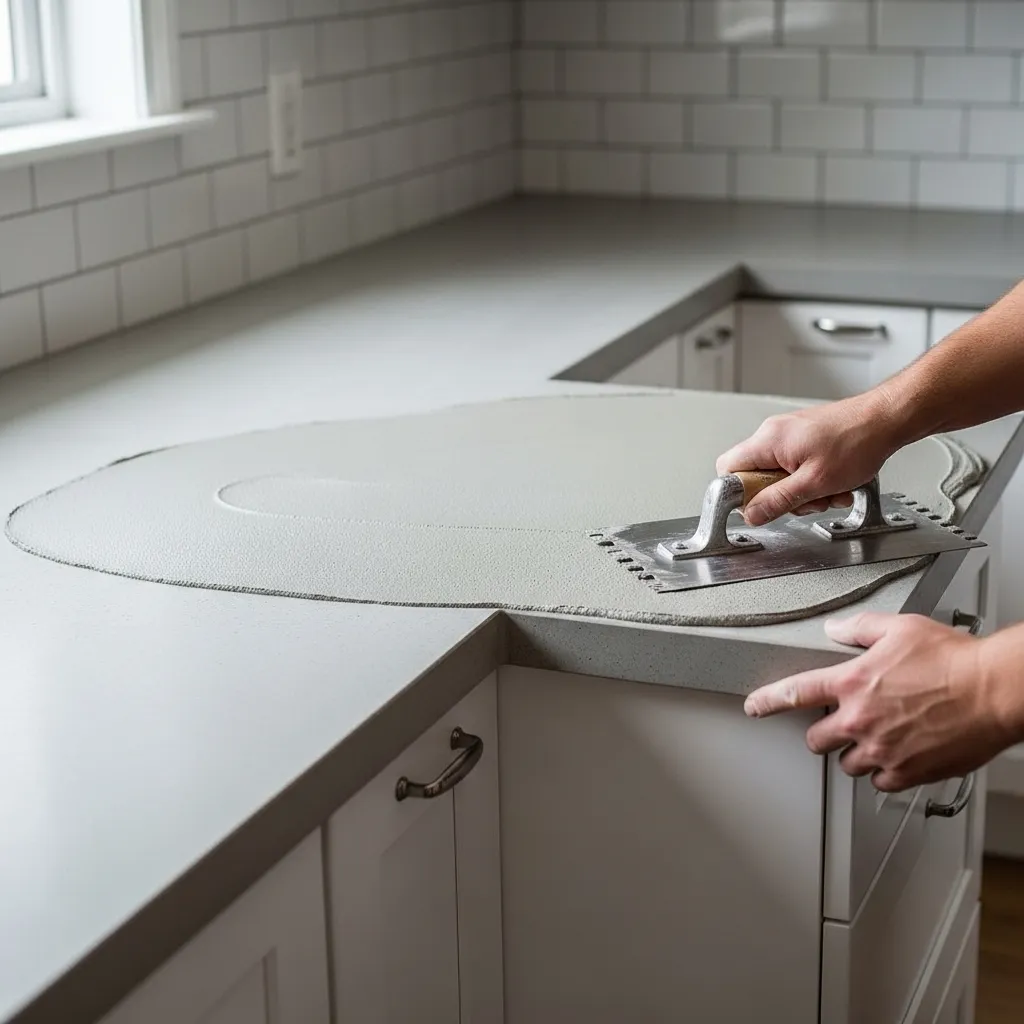
4. The Elegance of Concrete Overlay
For an ultra-modern, industrial look, a concrete overlay is incredible. A professional applies a thin layer of polymer-modified concrete right over your existing counters. It can be tinted, stained, and sealed.
The result is a seamless, durable, and custom surface. I love that it can be formed into an integrated sink bowl for a truly streamlined look. While it’s more of a pro job, it’s still a fraction of the cost of all-new counters.
5. Go Glam with Epoxy Resin
Epoxy resin lets you create a one-of-a-kind, glossy masterpiece. You can achieve effects like deep terrazzo, metallic veins, or even embed dried flowers. Pouring epoxy is a messy but fun project.
It self-levels to a glass-smooth finish that’s highly resistant to heat and stains. The key is working in a well-ventilated space and mixing precisely. The high-gloss finish reflects light and makes small kitchens feel bigger.
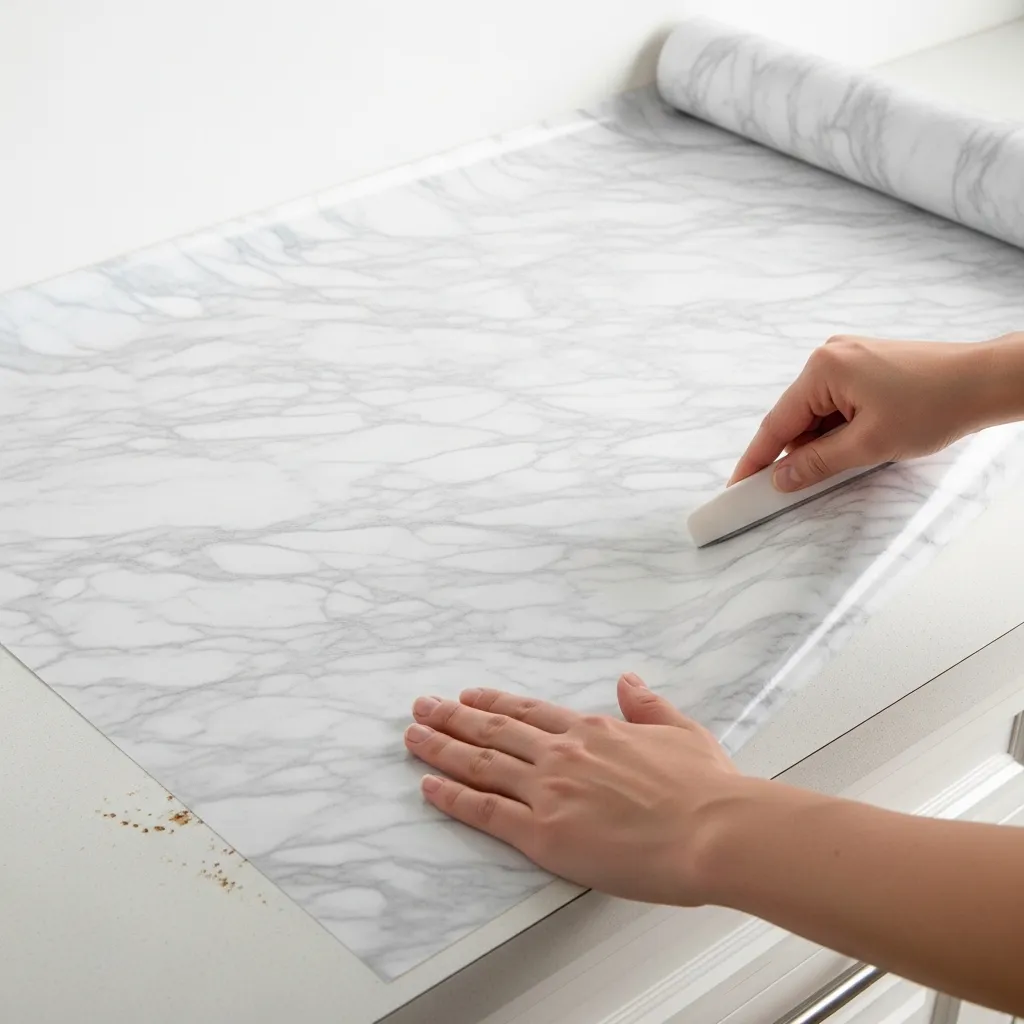
6. Smart & Stylish Contact Paper
Contact paper is the ultimate quick fix. Today’s designs are gorgeous—think realistic stone patterns, minimalist matte colors, or fun geometric prints. I used a marble-pattern paper, and guests constantly ask if I got new granite.
It’s easy to apply with a squeegee to avoid bubbles, and it’s trivially easy to remove. This is my top tip for anyone who wants a new look in under an hour or loves to change styles seasonally.

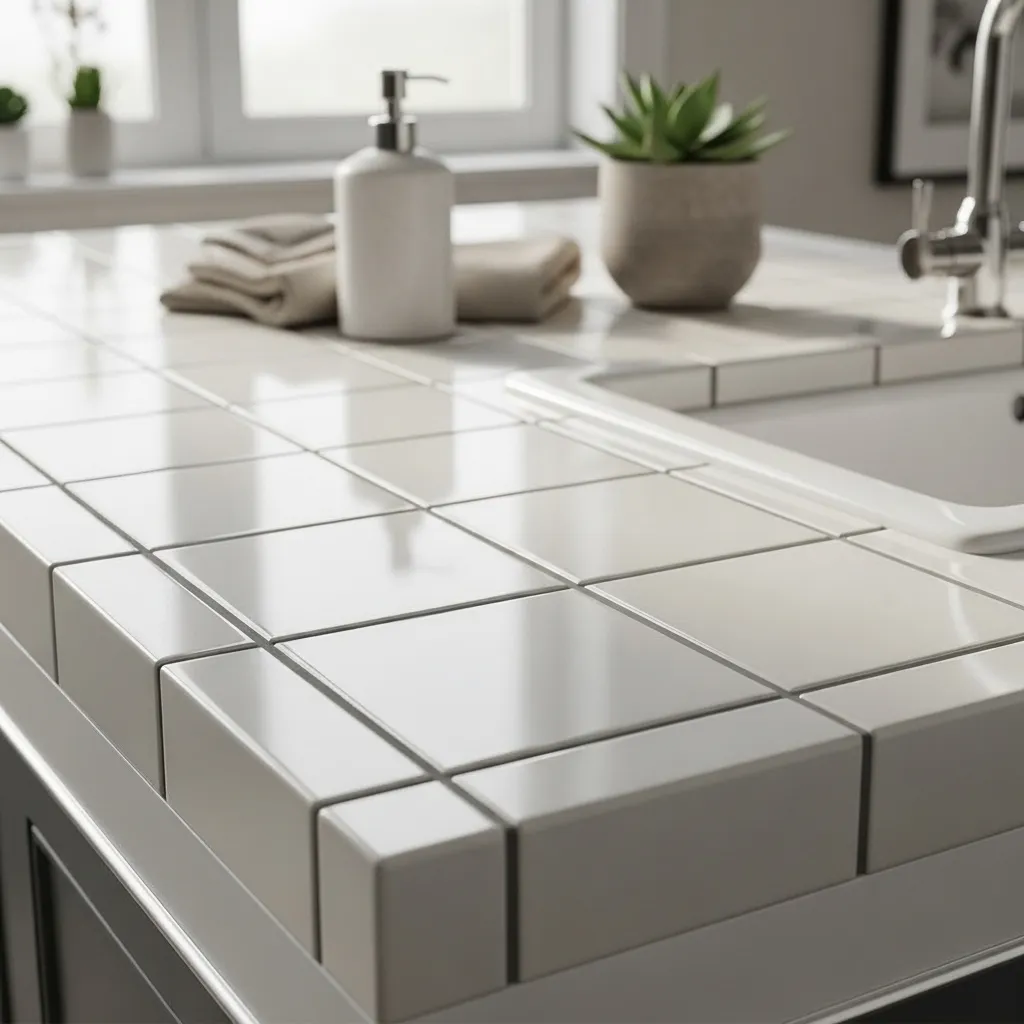
7. The Timeless Tile Refresh
Tiling over old counters is a classic for good reason. You can use ceramic, porcelain, or even glass mosaic tiles. I used large-format tiles with a minimal grout line for a clean, contemporary feel.
It’s a more permanent DIY solution that requires some skill with a tile cutter and thin-set mortar. Choosing a dark or epoxy grout makes maintenance a breeze. The durability and heat resistance are unbeatable.
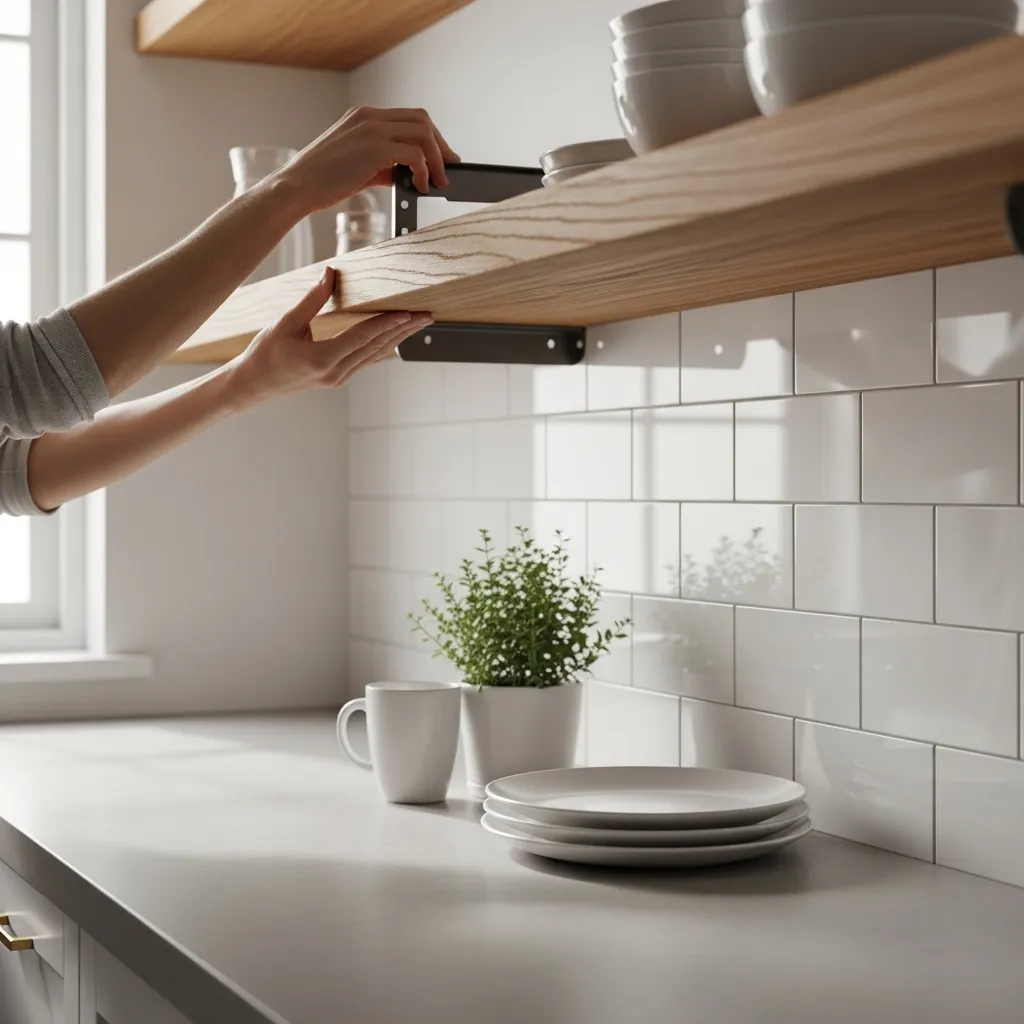
8. Add a Floating Wooden Shelf
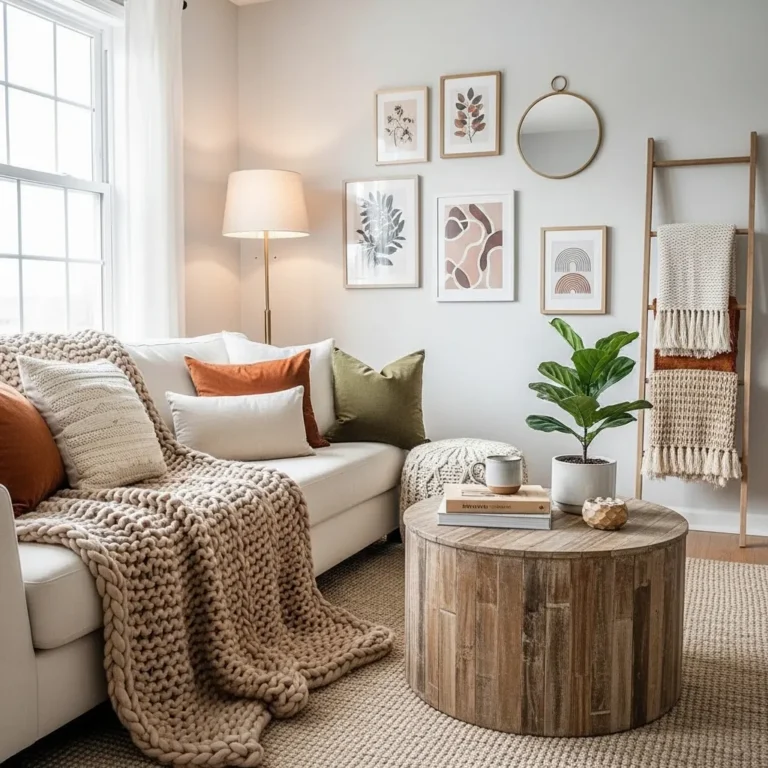
This idea is about addition, not just covering up. On a blank wall section of my counter, I installed a beautiful, thick floating wooden shelf at counter height. It instantly created extra landing space for appliances and a display area for my favorite cookbooks and a plant.
It breaks up a long run of countertop and adds vertical interest. It feels like I gained square footage without any construction.
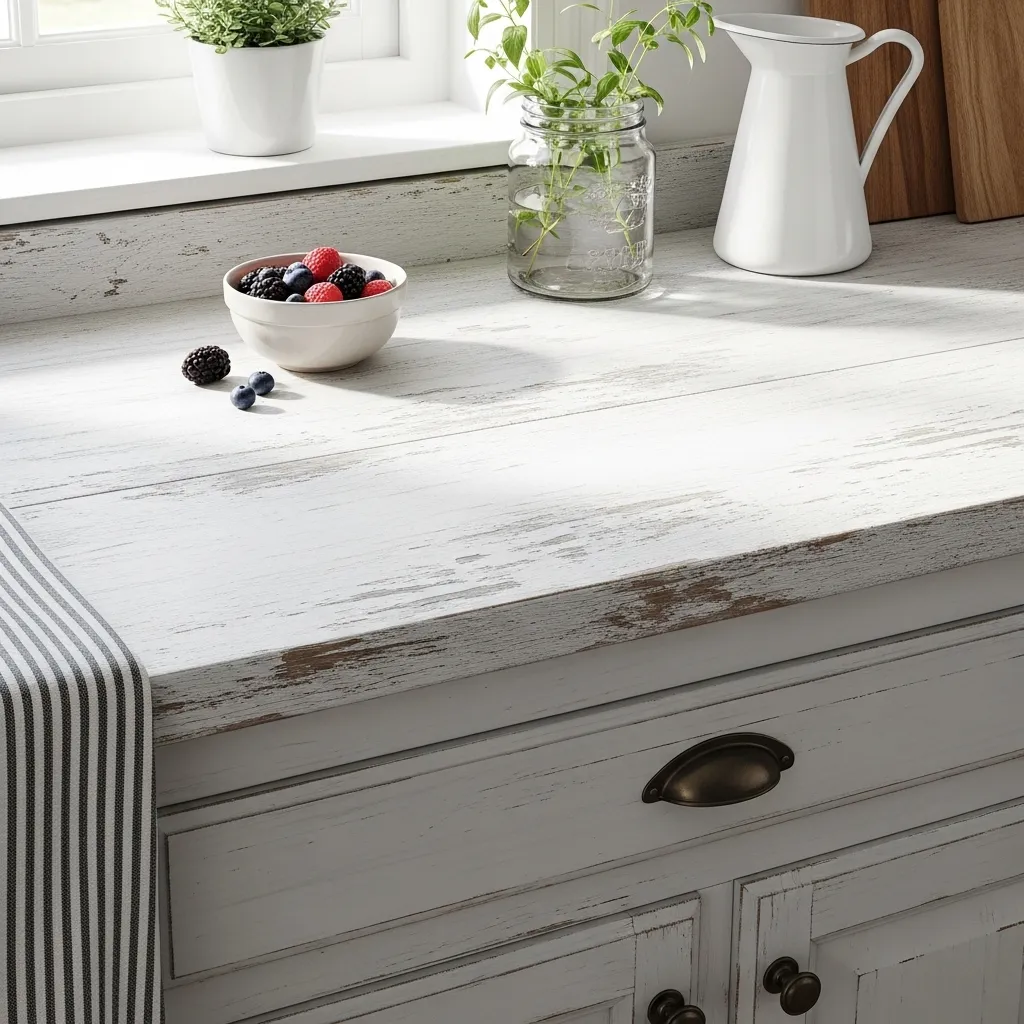
9. Whitewash for Cottage Charm
If you have wooden counters that are looking dark or dated, a whitewash can lighten them up beautifully. I diluted white paint with water and wiped it onto my oak counters, letting the grain show through.
After it dried, I sealed it with a matte polyurethane. It gave my kitchen an instant airy, Scandinavian cottage vibe. This technique adds character and brightness without hiding the natural material.
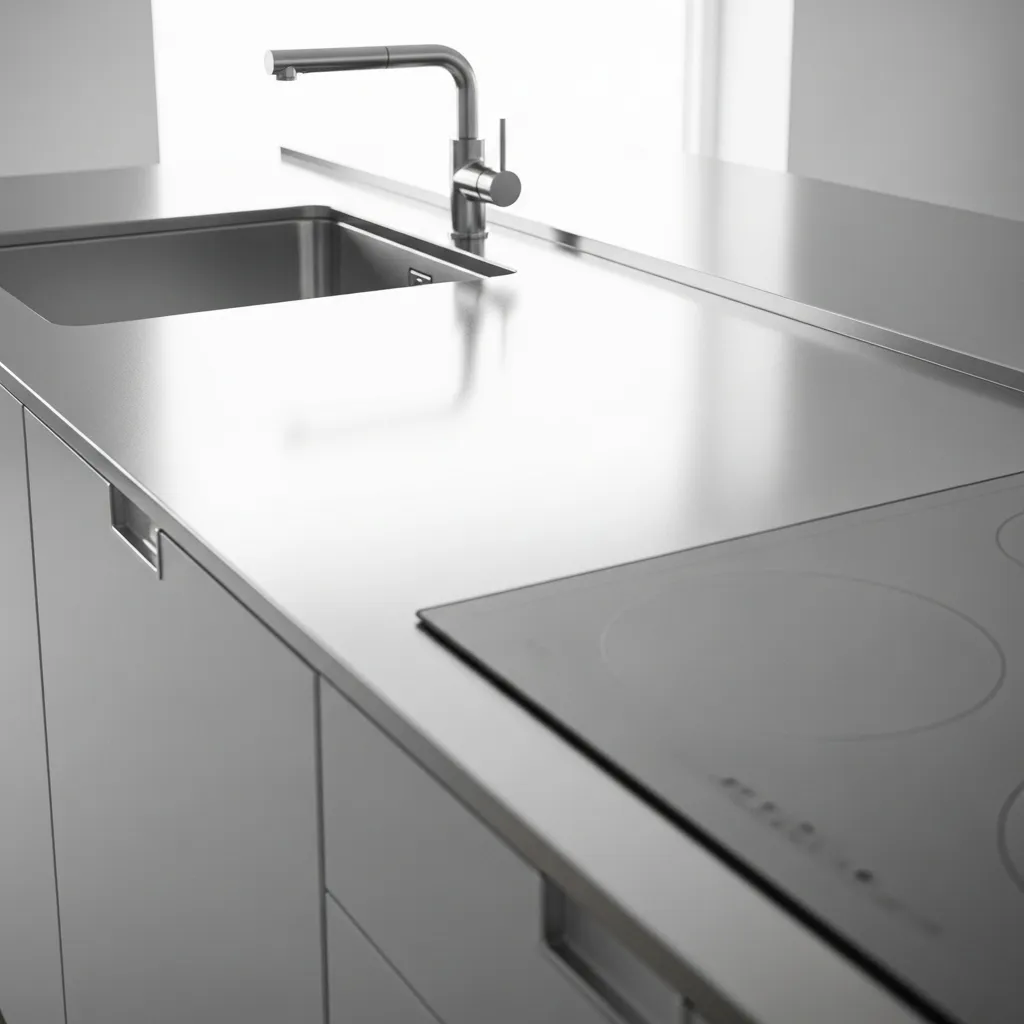
10. Modernize with a Stainless Steel Kit
For a sleek, professional look, stainless steel overlay kits are available. They come as thin sheets you can adhere over your existing surface and trim to fit. I added one to my island where I do most of my prep.
It’s incredibly hygienic, heatproof, and easy to clean. The reflective surface is stunning and pairs perfectly with modern or industrial decor. The metallic finish makes all my stainless appliances feel intentional.
11. Stencil a Pattern
Unleash your creativity with stencils! Using a durable paint or even concrete stain, you can add a Moroccan tile pattern, a simple geometric design, or a delicate border. I stenciled a subtle cement-tile pattern in gray and white on my island.
It’s a personal touch that makes my kitchen unique. Just be sure to use a stencil adhesive to prevent bleeding and finish with a clear, protective sealer.
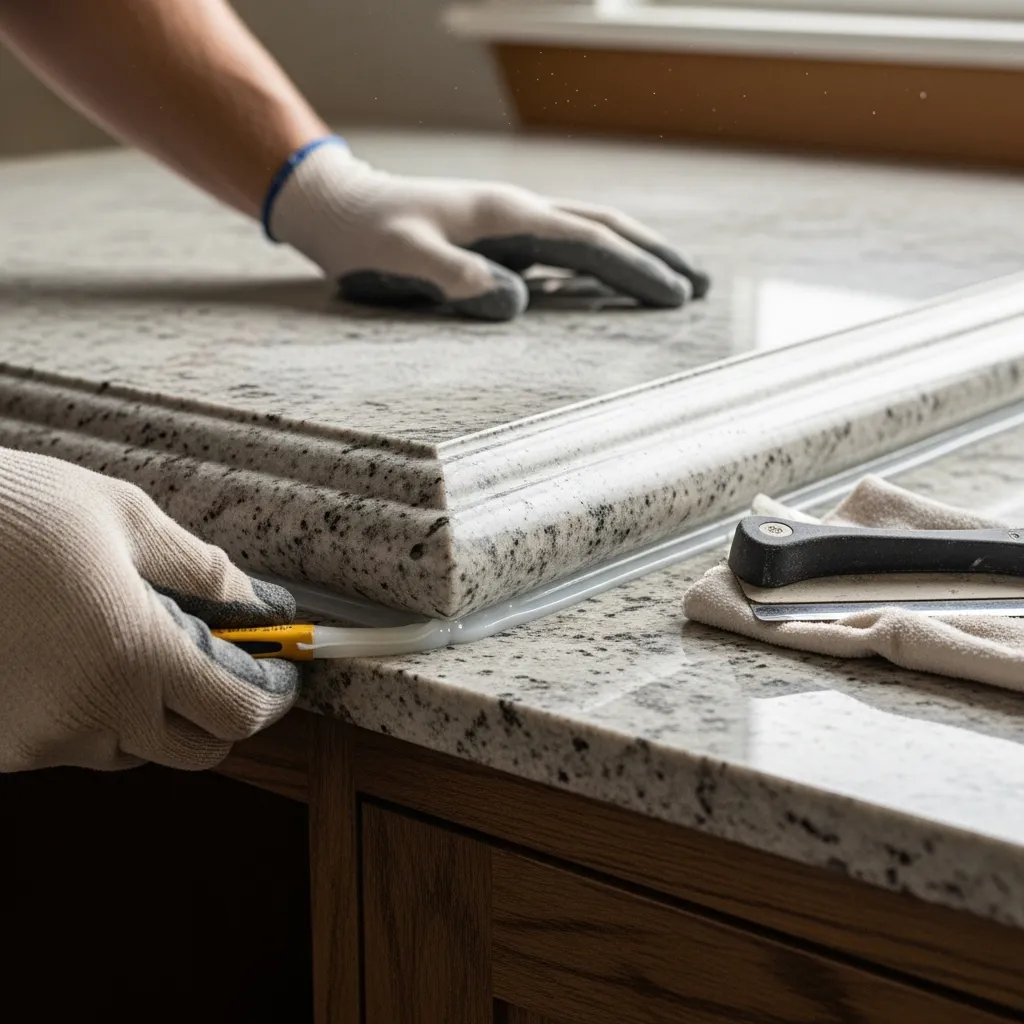
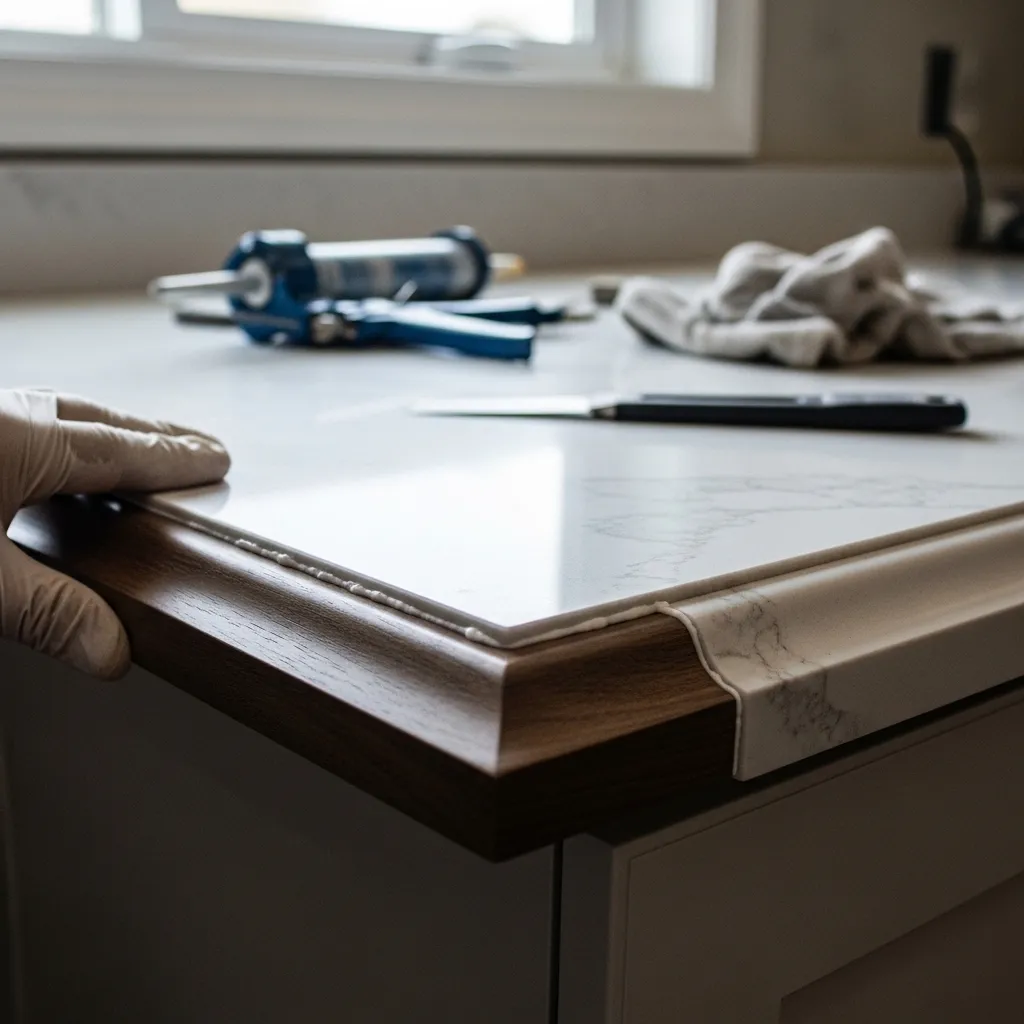
12. Install a New Edge Profile
Sometimes, a simple detail change makes all the difference. If your counters are structurally sound but just look builder-basic, consider replacing the edge. You can have a carpenter attach a new, thicker bullnose, ogee, or waterfall edge piece.
This small change adds substantial visual weight and a custom, high-end feel. Painting or staining the new edge to match (or contrast) completes the polished look.
13. The Simple Power of Accessories
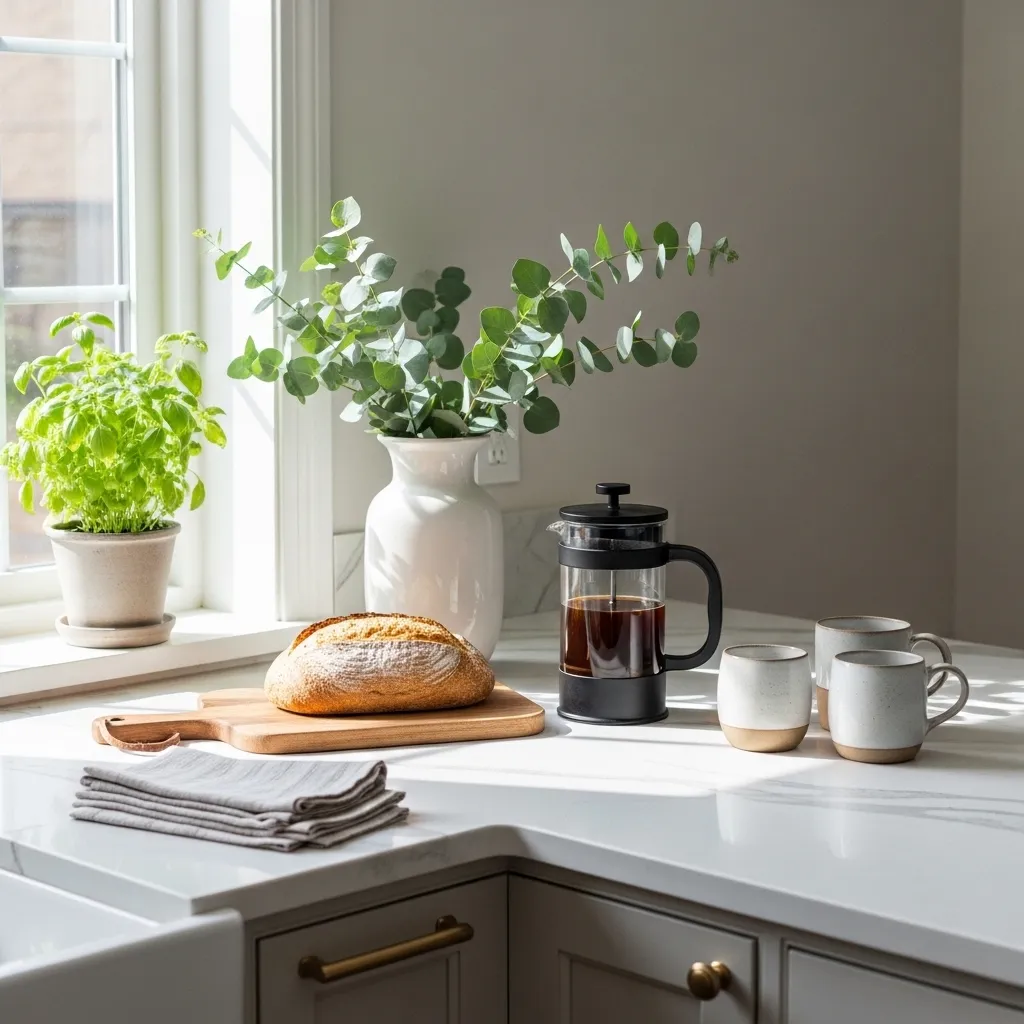
Not ready for a physical change? Redefine your countertops with intentional styling. I cleared the clutter and curated a few beautiful, functional items: a large wooden cutting board always left out, a ceramic utensil crock, and a trio of matching canisters.
By treating the surface as a display, you draw the eye to the accessories, not the counter material itself. It’s free, reversible, and instantly makes the space feel curated and clean.
Wrapping Up Your Countertop Transformation
Whether you have a weekend or just five minutes, there’s a countertop makeover idea here to inspire you. The best project is the one that fits your budget, your skill level, and brings you joy every time you walk into the kitchen. Start small, have fun with it, and don’t be afraid to try something new. Your dream kitchen might be just one layer away!
Kitchen Countertop Makeover FAQ
Q: What’s the most budget-friendly makeover idea?
A: Hands down, high-quality contact paper or a DIY paint kit. You can refresh a small kitchen for well under $100 with stunning results.
Q: Can I really paint my laminate counters?
A: Absolutely! Just use a primer and paint specifically formulated for laminate or multi-surface use. Proper prep and a good protective topcoat are the secrets to durability.
Q: Which option is most durable for a busy kitchen?
A: Professional options like a concrete overlay or tiling are the most durable. For DIY, a properly applied epoxy resin or countertop paint with a strong sealant holds up very well.
Q: How do I prepare my old countertops for a makeover?
A> Clean thoroughly with a degreaser, sand lightly to rough up the surface (for paint/epoxy), and ensure it’s completely dry and dust-free. This step is crucial for adhesion.
Q: Can I do these makeovers if I rent my home?
A> Yes! Focus on non-permanent solutions like contact paper, removable peel-and-stick tiles, or simply redecorating with accessories. Always check your lease agreement first.