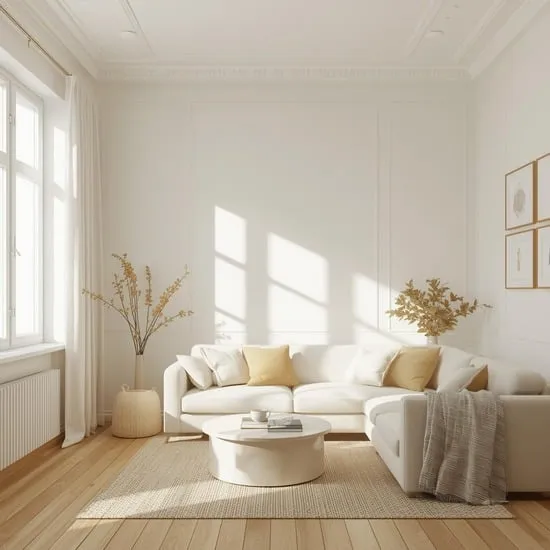
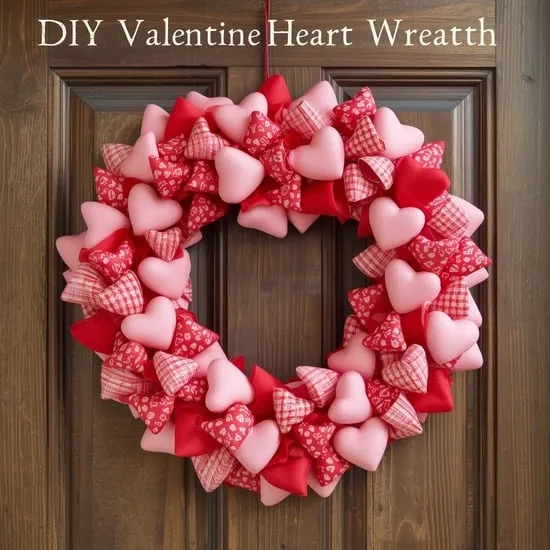
11 DIY Walk-In Closet Ideas to Transform Your Space
I used to think a beautiful, organized walk-in closet was a luxury I couldn’t have. My clothes were crammed into a tiny reach-in, and nothing ever felt easy to find. I finally decided to take matters into my own hands and discovered the world of DIY closet solutions. It’s amazing what you can create with some smart planning and a weekend (or two!) of work.
These ideas are all about maximizing space, adding personal style, and creating a system that actually works for your daily routine. Whether you’re converting a spare nook, reimagining an existing closet, or finally tackling that awkward under-stair space, there’s a project here for you. Let’s build a closet that makes getting dressed the best part of your day.
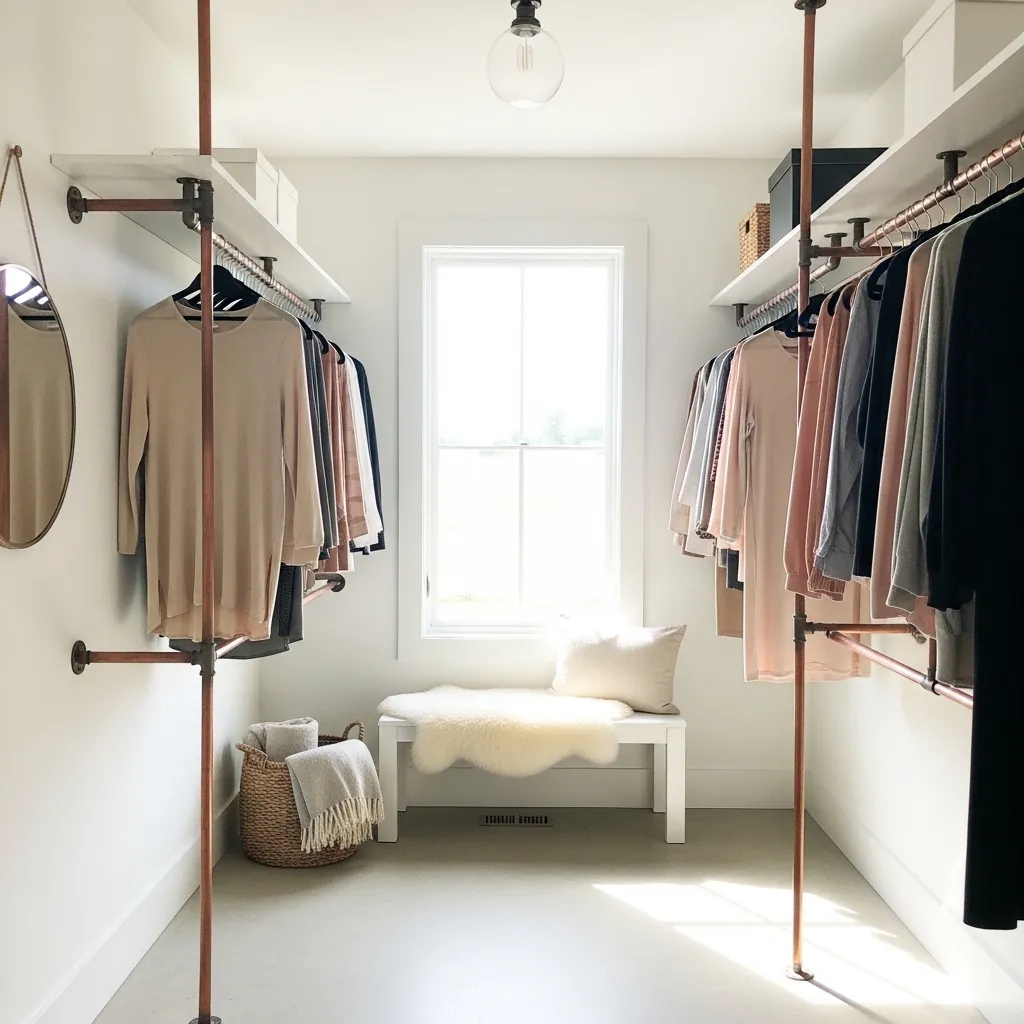
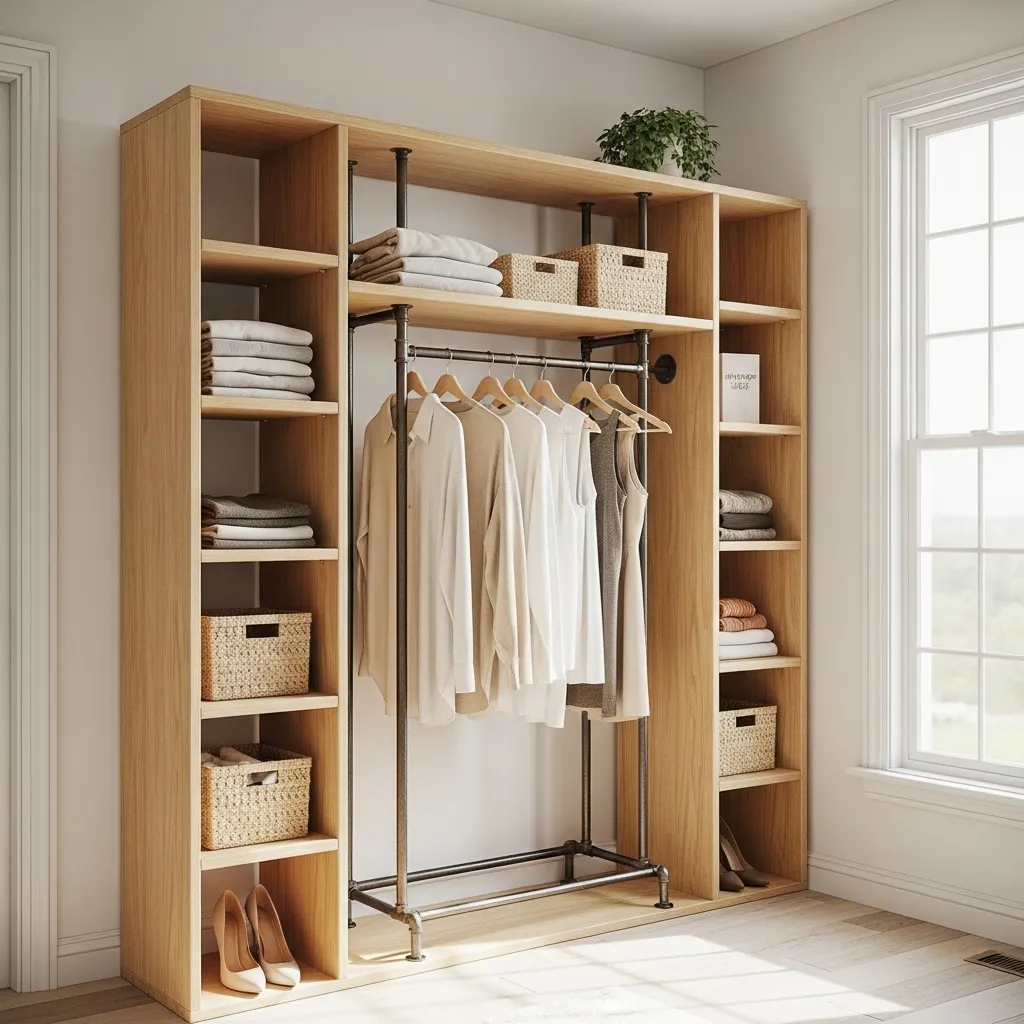
1. The Pipe Rack Industrial Chic
For a look that’s both sturdy and stylish, black iron pipe fittings are your best friend. I love this idea because it feels custom and high-end, but it’s surprisingly simple to assemble. You can create single hanging rods, double-tiered sections, or even entire shelving units.
Just measure your space, head to the hardware store for pipes, flanges, and connectors, and mount them directly into your wall studs. The industrial vibe pairs perfectly with wood shelves and neutral baskets for a closet that feels modern and totally unique.
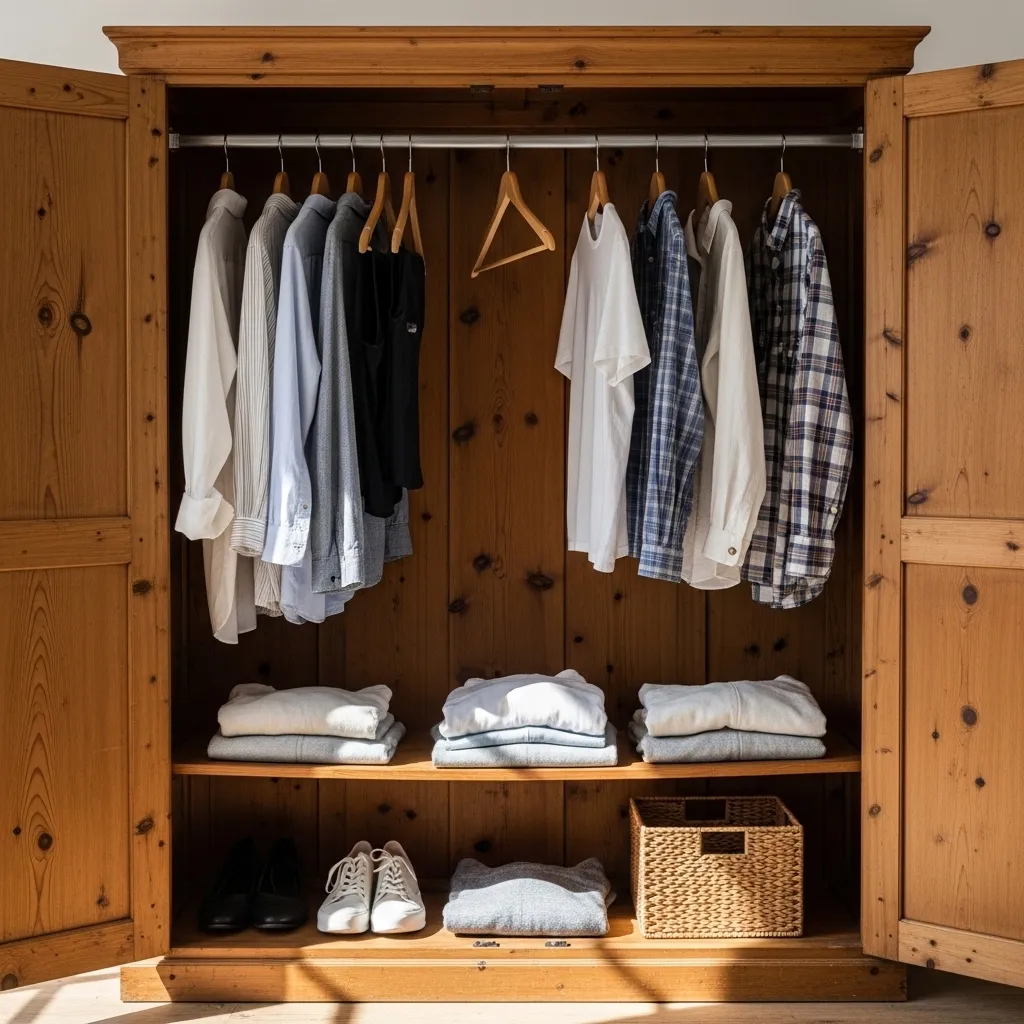
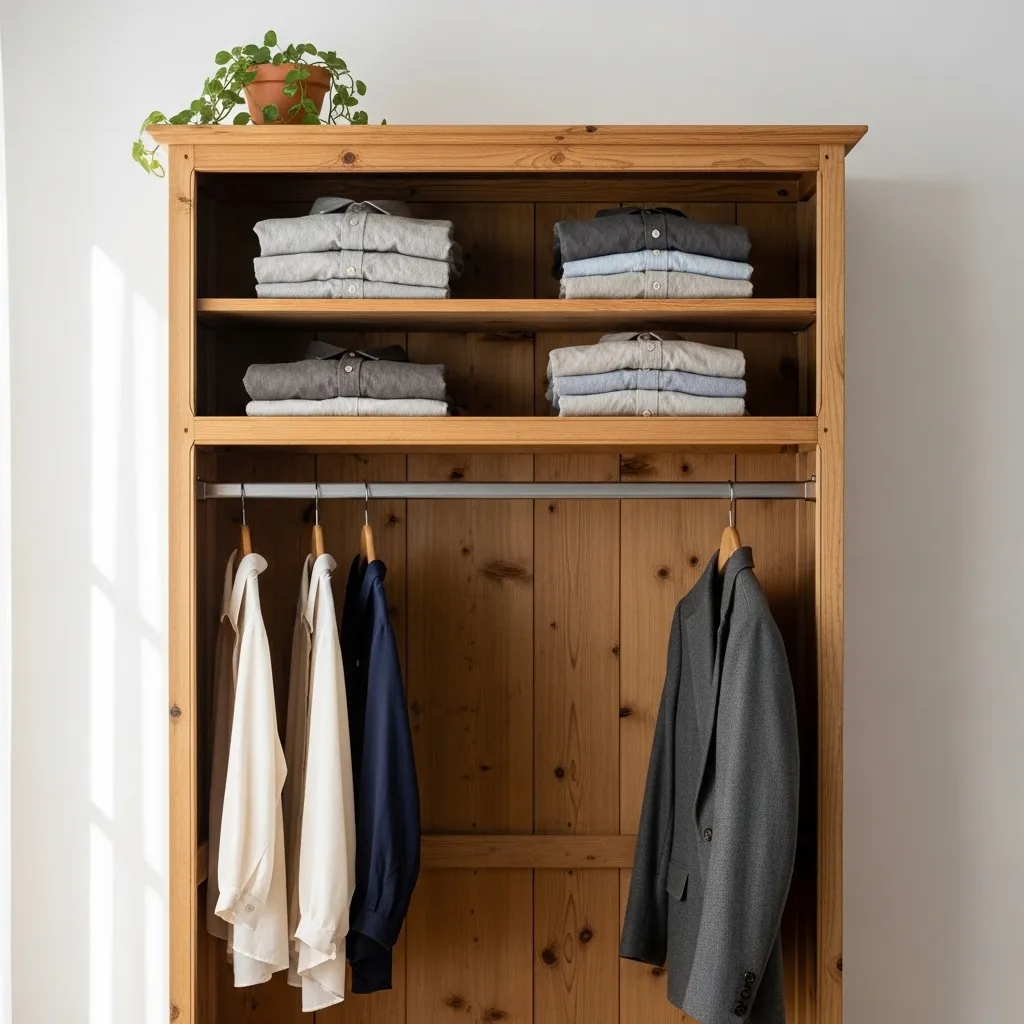
2. Repurposed Bookcase Wardrobe
Don’t overlook the humble bookcase! I turned a tall, deep bookcase into the perfect home for folded sweaters, jeans, and handbags. It’s an instant storage upgrade. For a more integrated look, you can remove the back panel and secure it between two walls.
Add some decorative bins on the lower shelves for accessories, and use the top for less frequently used items or display. A coat of paint that matches your room can make it look like a built-in.
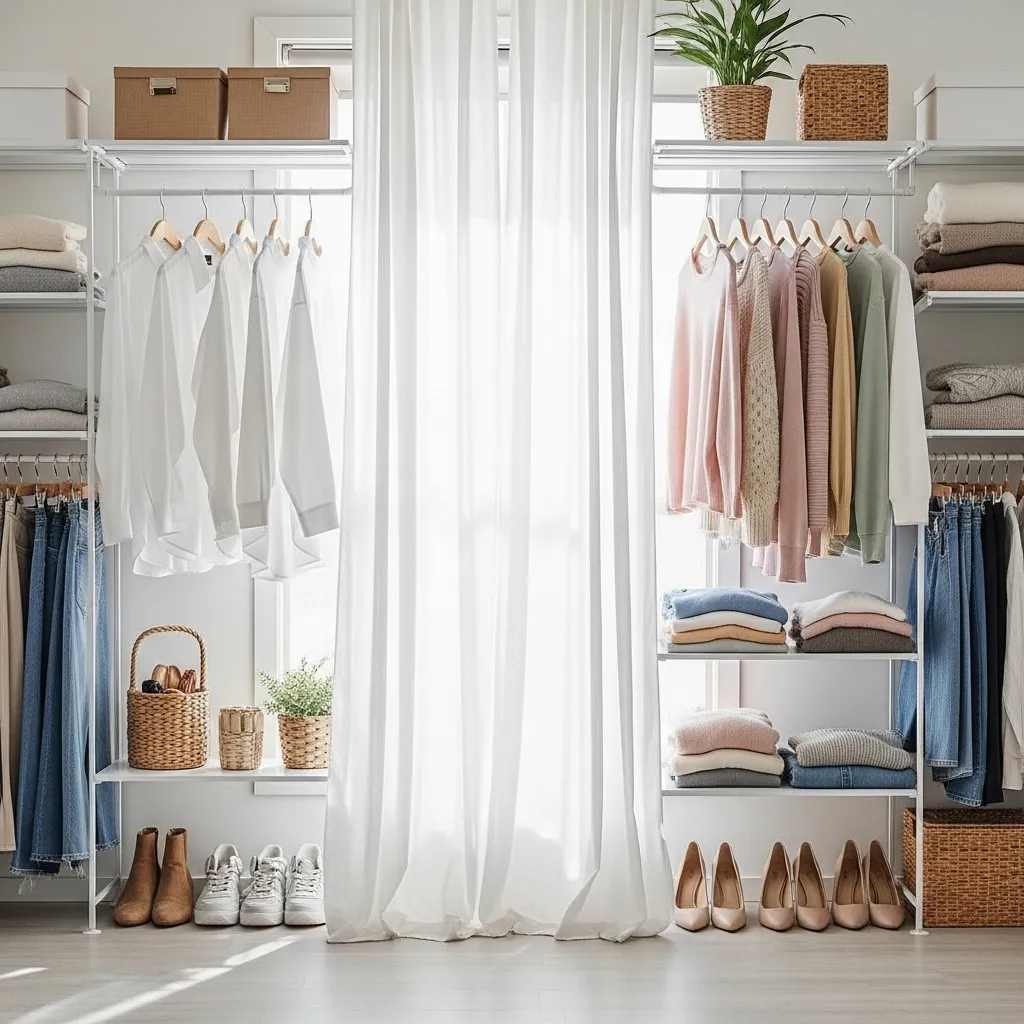
3. The Curtained “Room-Divider” Closet
If you don’t have walls to enclose a space, create them with curtains! This is my go-to solution for carving a closet out of a bedroom corner or alcove. Install a simple ceiling-mounted curtain rod in a square or L-shape.
Choose a heavy, luxurious fabric to hide everything when needed, or a light, airy linen to keep it feeling open. Behind the curtain, you can use a mix of free-standing racks and shelves. It’s soft, budget-friendly, and completely changeable.
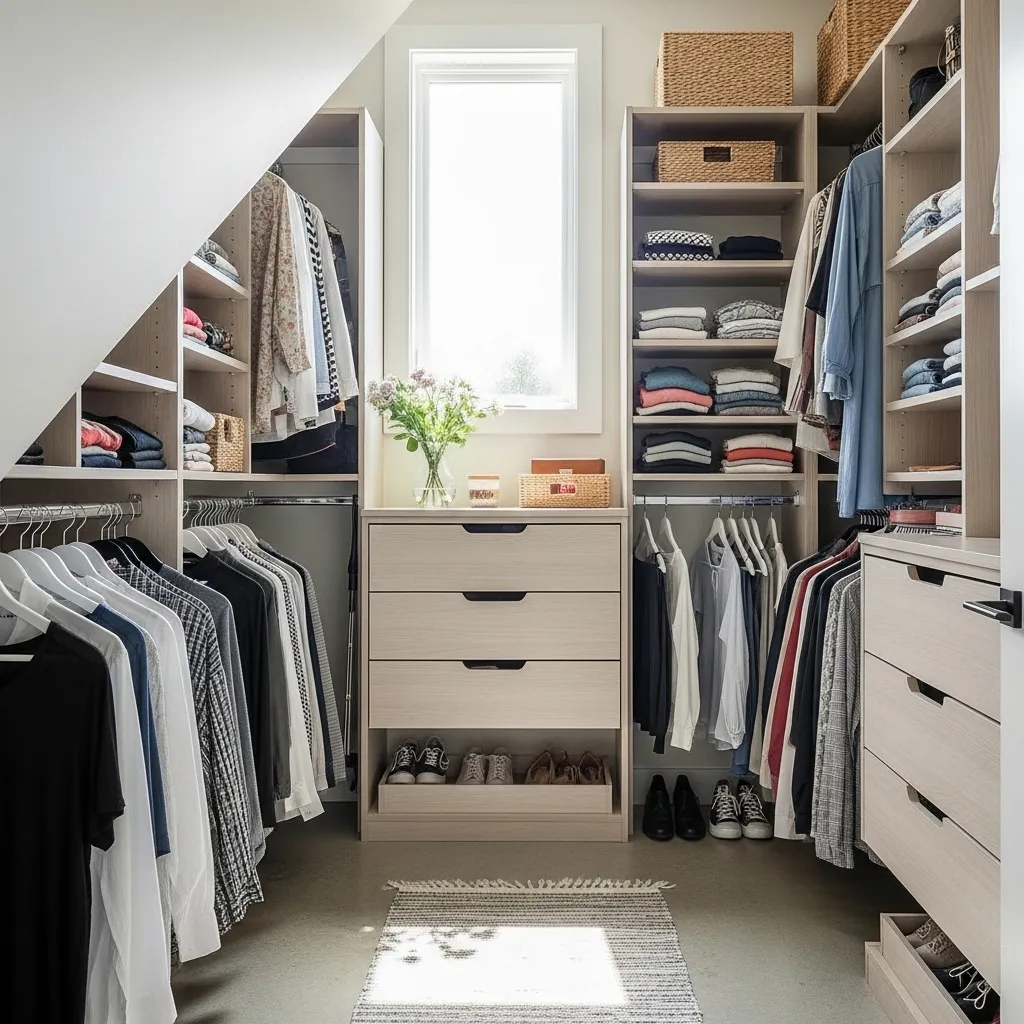
4. Under-Stair Storage Wonderland
That awkward space under the stairs is a goldmine for a DIY walk-in. I’ve seen incredible transformations here. The key is to follow the slope of the stairs with your design.
- Install hanging rods in the taller section.
- Use the middle height for pull-out drawers or shoe shelves.
- The shortest end is perfect for cubbies or a little bench for putting on shoes.
Add lighting inside to make it feel bright and intentional, not like a forgotten cave.
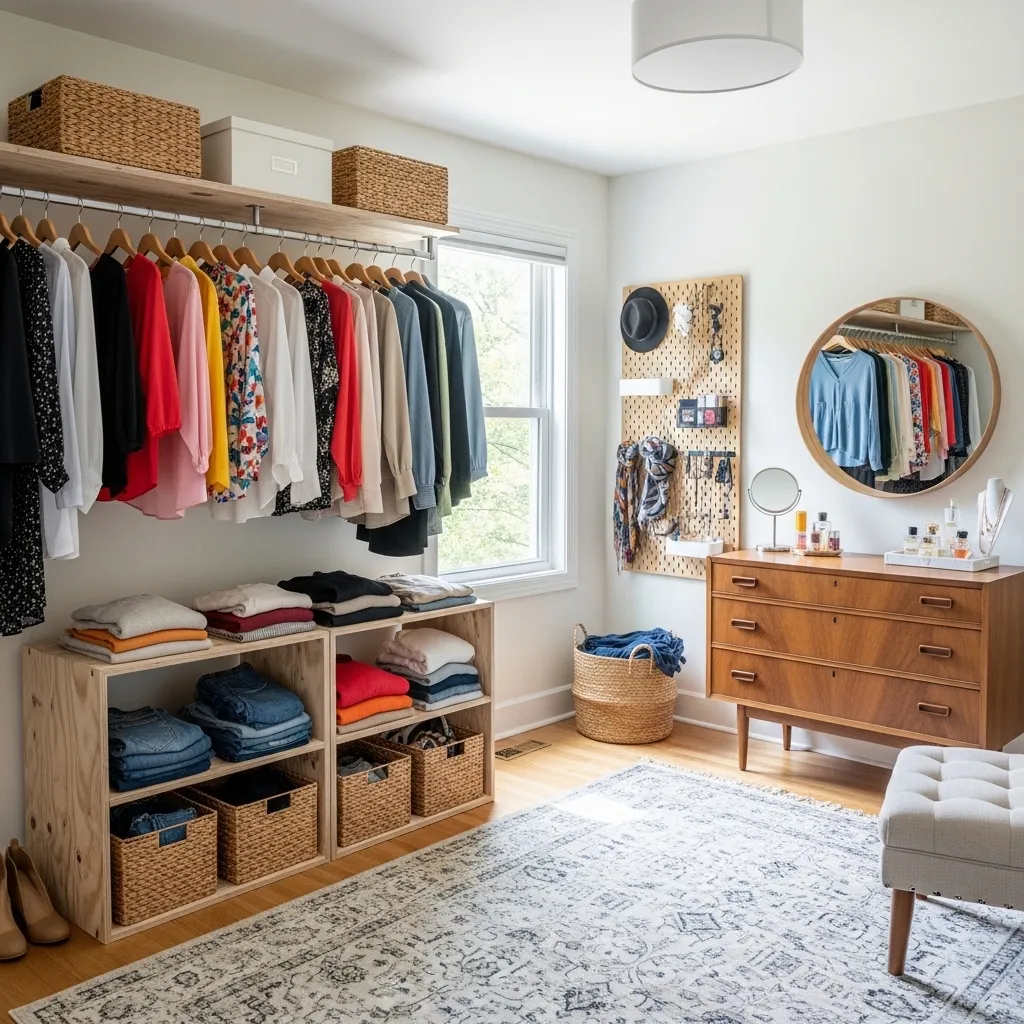
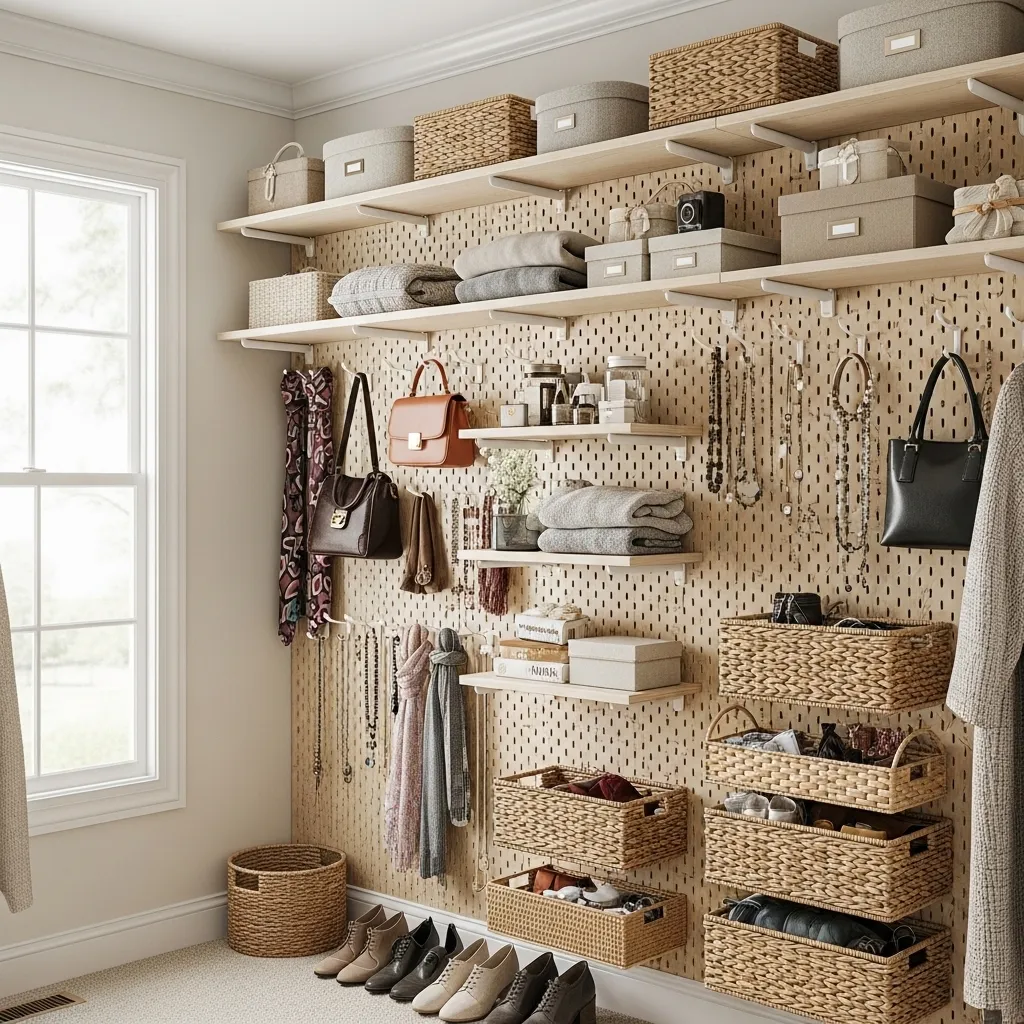
5. Pegboard Wall of Possibilities
Pegboard isn’t just for the garage! A large painted pegboard panel on one wall of your closet creates infinitely customizable storage. I use it for everything:
- Hooks for belts, scarves, and necklaces.
- Small shelves for perfumes or sunglasses.
- Baskets for socks and undergarments.
You can rearrange it anytime your storage needs change. Paint it a soft pastel or a bold color to make it a real design feature.
6. Freestanding Rack & Shelf Combos
Sometimes the simplest solution is the best. Combining a few freestanding clothing racks with matching shelving units gives you a flexible, rental-friendly closet system. I love the airy, boutique-like feel it creates.
Look for racks with a second lower bar or ones that include a shelf on top. Place them back-to-back in the center of a room to create a true “walk-in” aisle, or line them up along a wall. It’s installation-free and totally mobile.
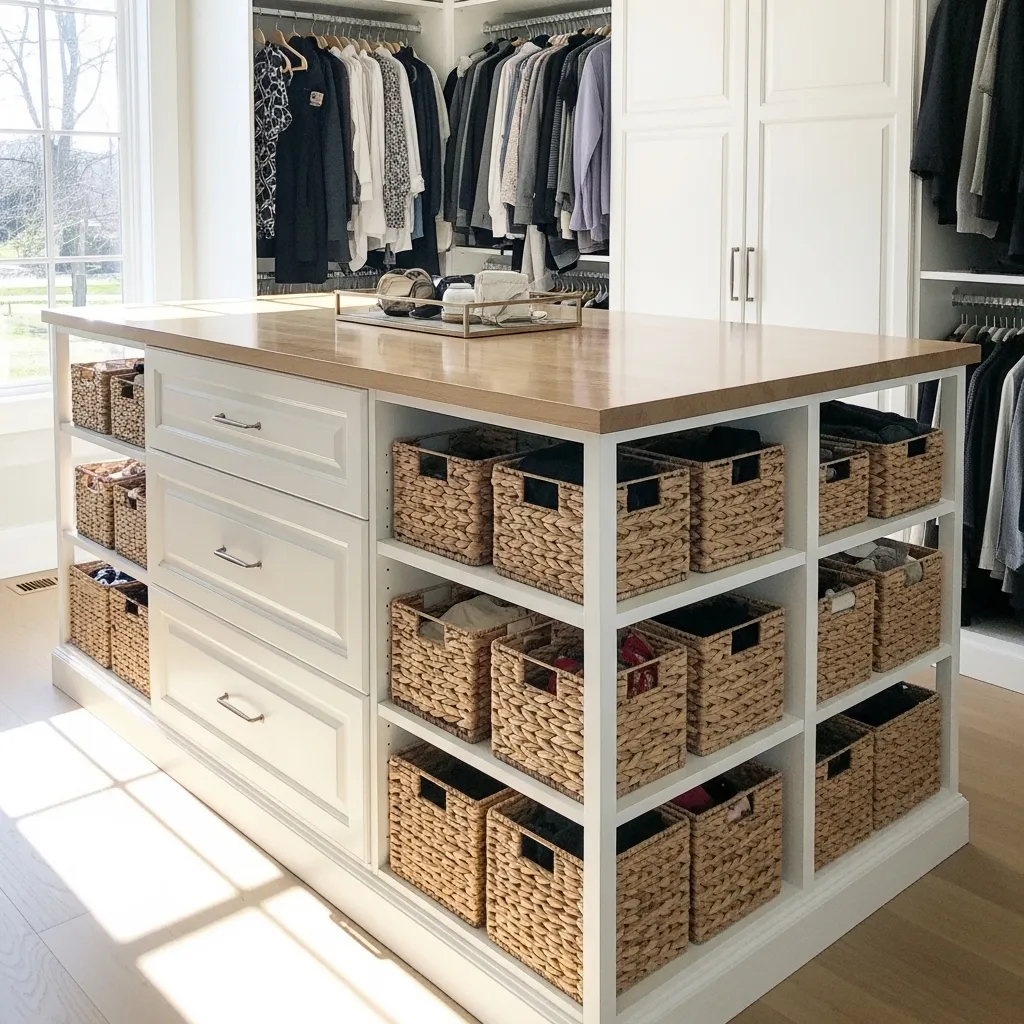
7. DIY Closet Island with Storage
An island is the ultimate closet luxury, and you can build one! A simple base made from base cabinets or even sturdy shelving cubes topped with a countertop creates a central hub. Use it for folding, displaying favorite accessories, or getting dressed.
Make it extra functional by adding:
– Drawers for jewelry and small items.
– Open cubbies for baskets of scarves or bags.
– A butcher block or marble-look laminate top for a polished finish.
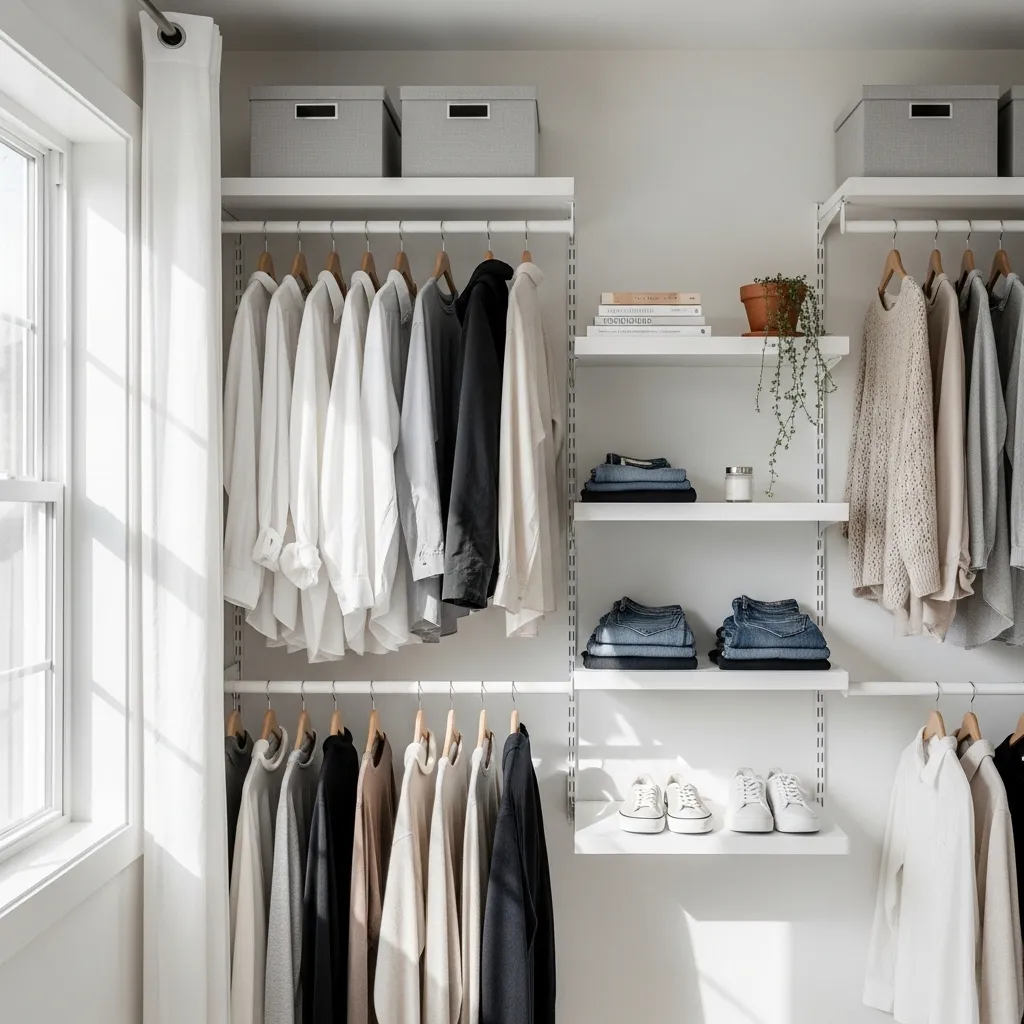
8. Bright & Airy All-White System
For a clean, spacious, and timeless look, you can’t beat an all-white DIY system. Use white melamine boards, pre-fab white shelving, and white paint on the walls. This reflects light beautifully, making even a small closet feel larger.
The uniformity is calming and makes your clothing and accessories the colorful stars of the show. Add texture with woven baskets and a small runner rug for warmth.
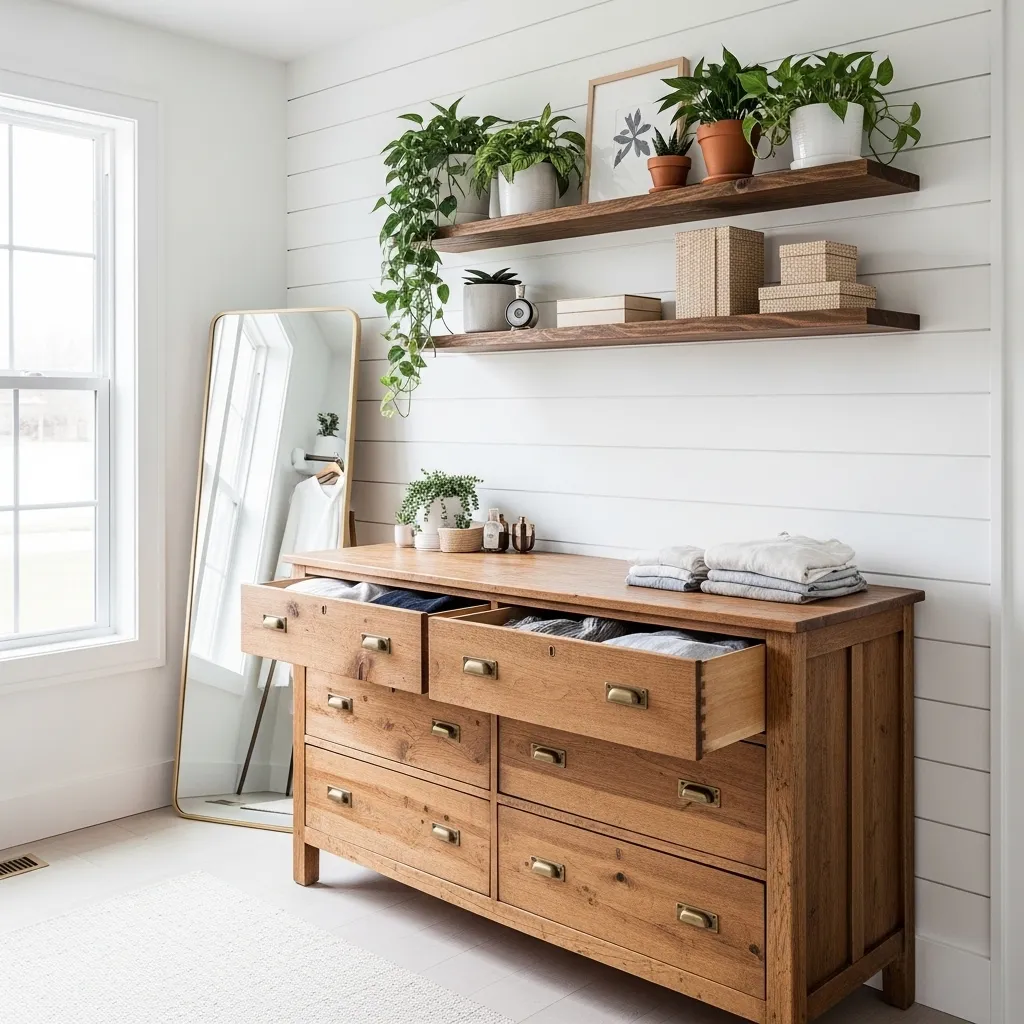
9. Vintage Dresser as a Storage Anchor
Incorporate a beautiful vintage or thrifted dresser into your closet design. It provides deep, divided storage for delicate items like sweaters and t-shirts that you don’t want to hang. The dresser top becomes a perfect vanity or display area.
Build your hanging rods and shelves around it to create a cohesive, collected-over-time look. Sanding and painting the dresser to match your color scheme ties it all together.
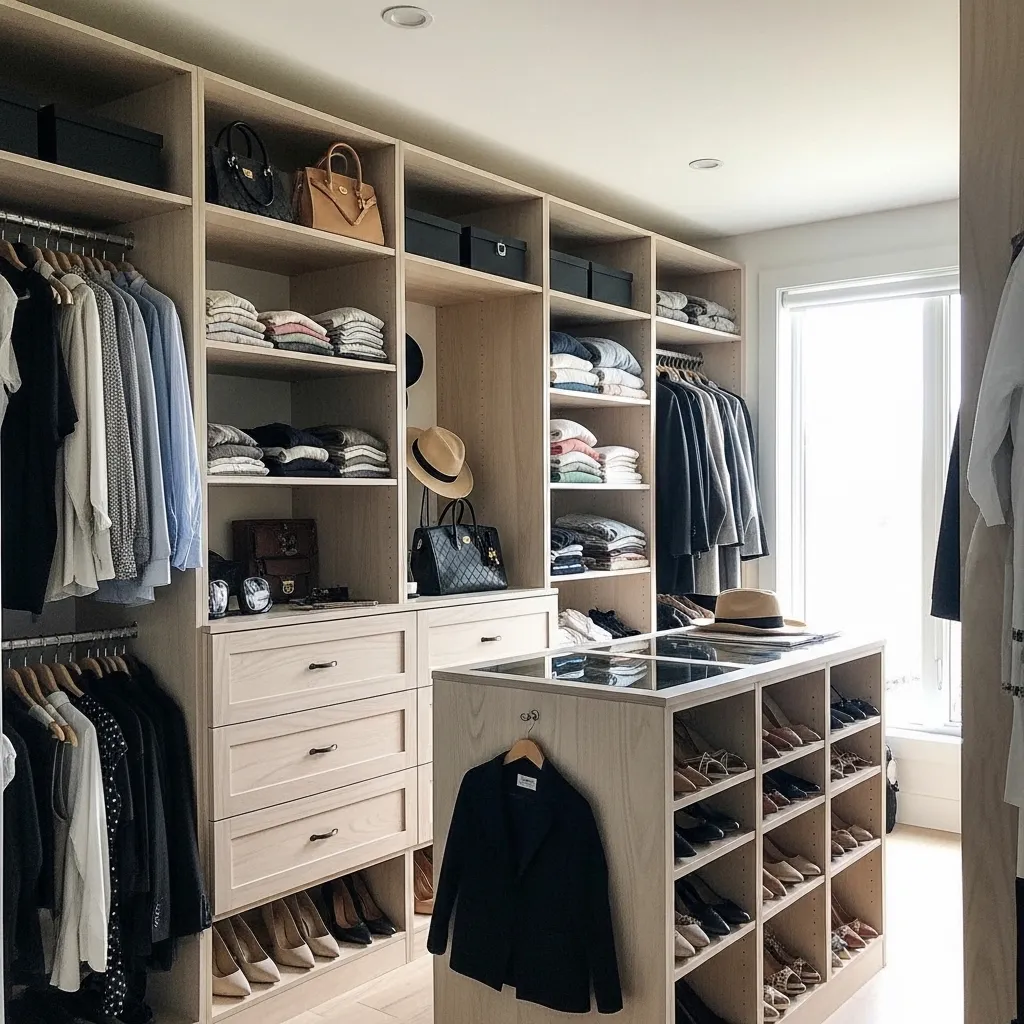
10. Floor-to-Ceiling Built-In Look
You can achieve a custom built-in look with standard kitchen wall cabinets and shelves. Mount upper cabinets high for out-of-season storage, use the middle section for hanging rods, and install a low bank of drawers or cabinets.
By using the full height of the wall, you maximize every single inch. Finish with crown molding at the top and baseboard at the bottom for a seamless, professional appearance.
11. The Minimalist Capsule Closet
This idea is as much about philosophy as construction. Design your physical space around a curated wardrobe. I built a simple system with one long hanging rod, one high shelf for storage bins, and a few designated hooks.
The limited space encourages you to keep only what you love and wear. It’s incredibly freeing and makes getting dressed effortless. The clean lines and lack of clutter are the ultimate decoration.
Ready to Start Your Closet Journey?
Creating your own walk-in closet is one of the most rewarding DIY projects. It’s not just about storage—it’s about crafting a personal space that simplifies your morning and sparks a little joy. Start with one idea that excites you the most, measure twice, and don’t be afraid to adapt these concepts to fit your unique space and style. Your dream closet is waiting to be built!
DIY Closet FAQ
Q: What’s the most budget-friendly DIY closet idea?
A: The curtained room-divider or a freestanding rack system are fantastic low-cost starters. They require minimal tools and materials and are completely non-permanent.
Q: How deep should closet shelves be?
A: For folded clothing, aim for shelves 14-16 inches deep. For shoes or general storage, 12 inches is usually sufficient. Always check the depth of your largest folded item first!
Q: Can I really build this without advanced skills?
A: Absolutely! Many ideas, like the pipe rack or using prefab bookcases, require basic drilling and leveling skills. There are plenty of tutorials online for each step. Start simple and build your confidence.
Q: What’s the best lighting for a walk-in closet?
A: I prefer bright, white LED strip lights or puck lights under shelves for even illumination. A central ceiling fixture is great, but add task lighting in darker corners so you can see colors truly.
Q: How do I decide on a layout?
A: Audit your wardrobe first! Count how many items you need to hang long vs. short, how many shoes you have, and what needs folding. Your inventory should dictate your layout, not the other way around.