13 DIY Organizers That Will Transform Your Small Space
I’ve lived in tiny apartments for years, and I know the struggle of finding a place for everything. Clutter can make a small space feel even smaller, and store-bought organizers never seem to fit just right. That’s why I turned to DIY.
Creating your own organizers isn’t just about saving money—it’s about crafting solutions that fit your exact nooks and crannies. These projects are simple, use affordable materials, and will make your home feel instantly more spacious and serene. Let’s dive into my favorite space-saving hacks.
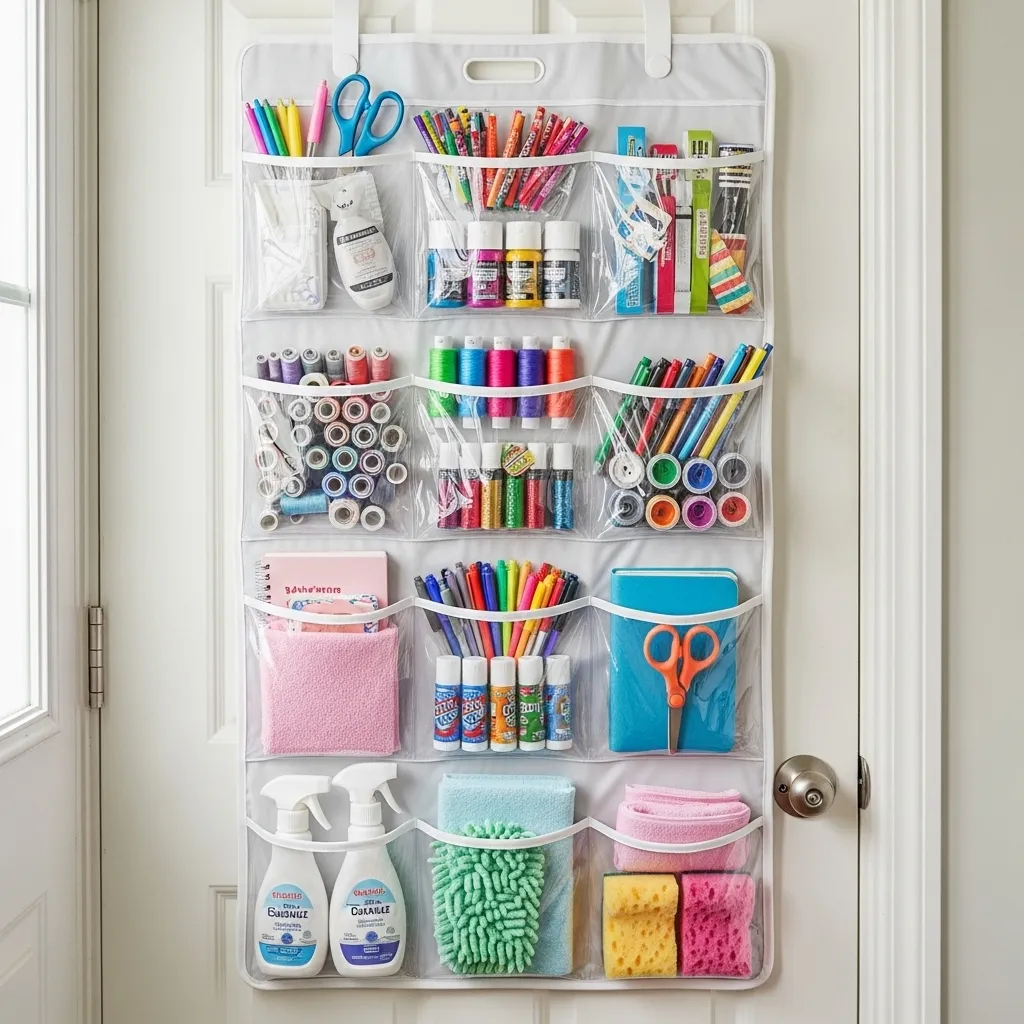
1. The Over-the-Door Shoe Organizer (For More Than Shoes!)
This is my ultimate secret weapon. That clear, hanging shoe organizer isn’t just for sneakers. Hang it on the back of a pantry door, closet door, or even a bathroom door.
I use the pockets to store cleaning supplies, snack packets, hair tools, and even small craft supplies. It gets so much off my shelves and countertops. The clear pockets let you see exactly what you have, so nothing gets lost.
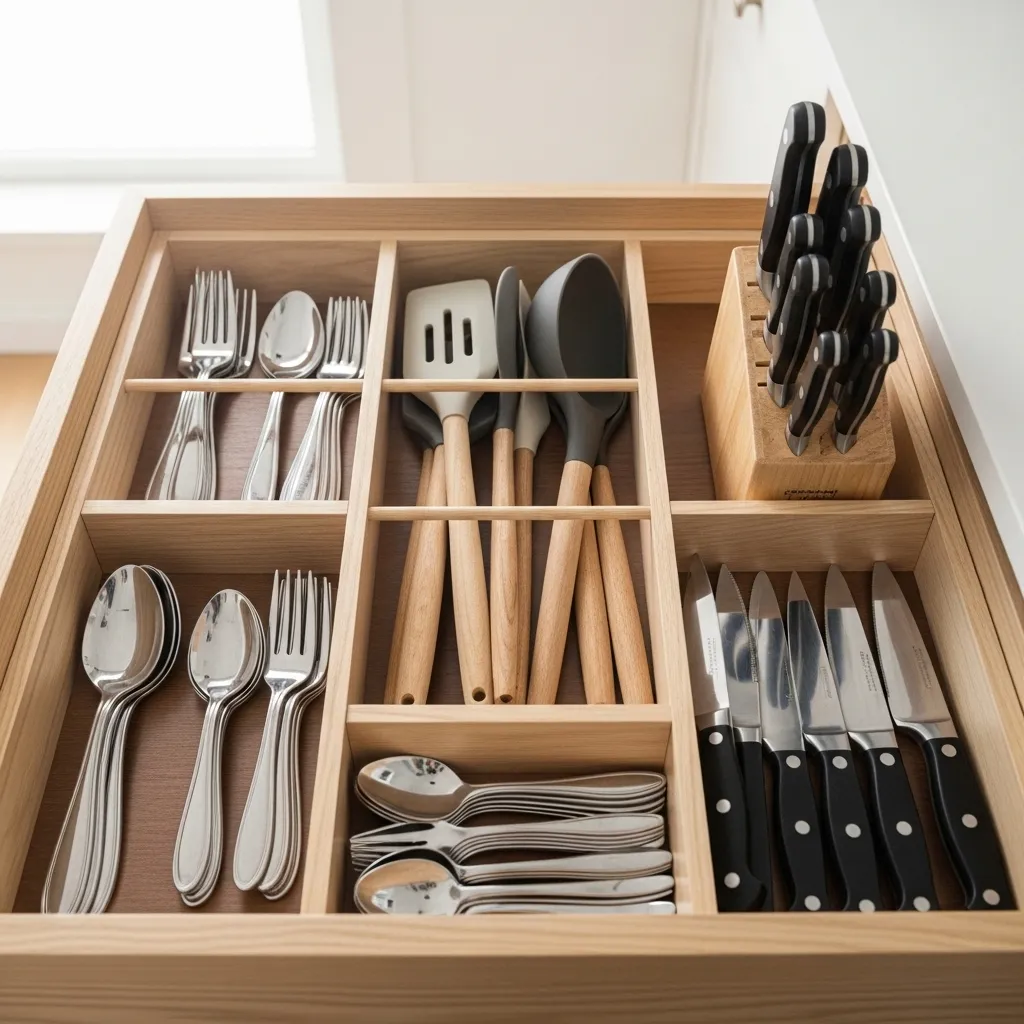
2. Tension Rod Drawer Dividers
Cut wooden dowels or use small tension rods to create custom compartments inside your drawers. This is perfect for organizing utensils, makeup, or office supplies.
Simply measure the width of your drawer and cut the rods to fit snugly. You can create a grid system that keeps everything neatly separated and prevents the dreaded “junk drawer” chaos.
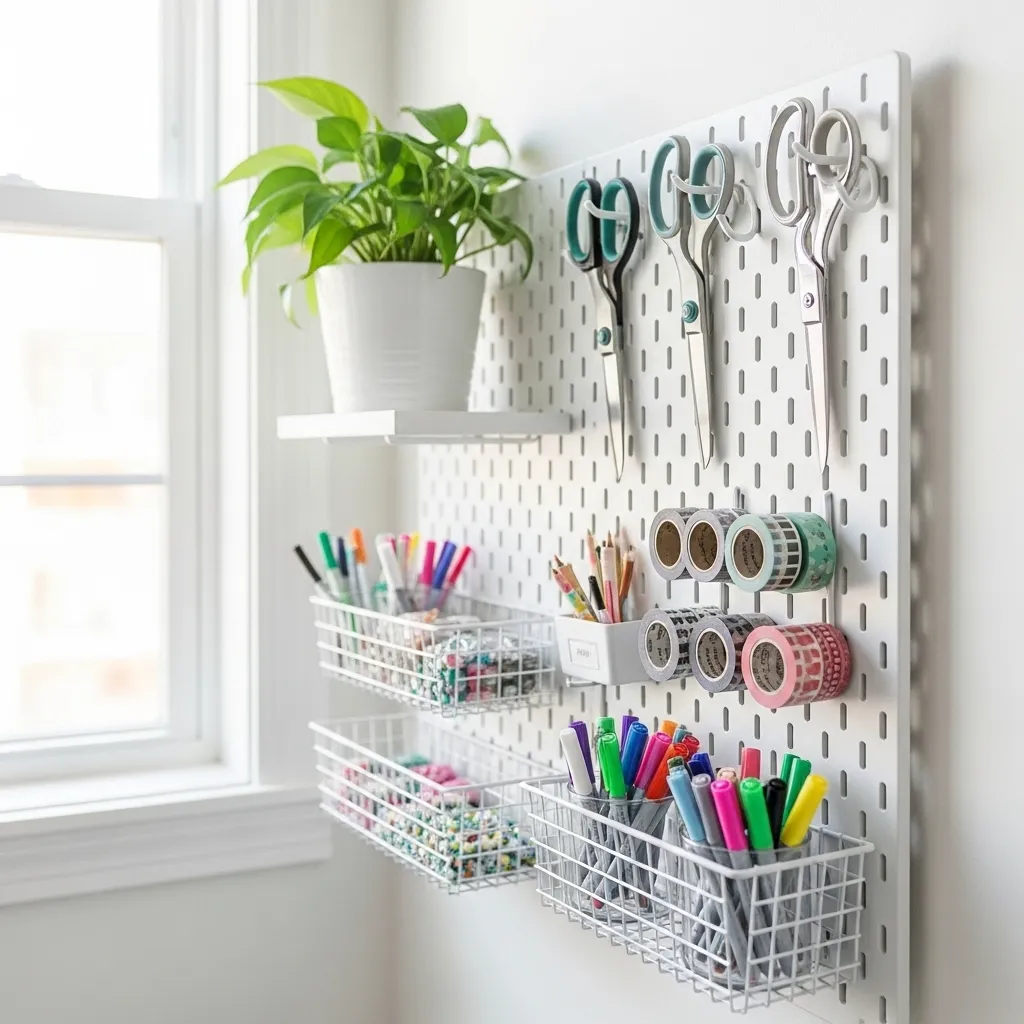
3. Pegboard Wall Station
Don’t let empty wall space go to waste! A small pegboard above a desk or in a craft corner is a game-changer. Use hooks, baskets, and shelves to hold everything from tools and scissors to spices and mugs.
I love that it’s completely customizable. You can rearrange the components anytime your needs change, and it adds a cool, industrial vibe to your space.
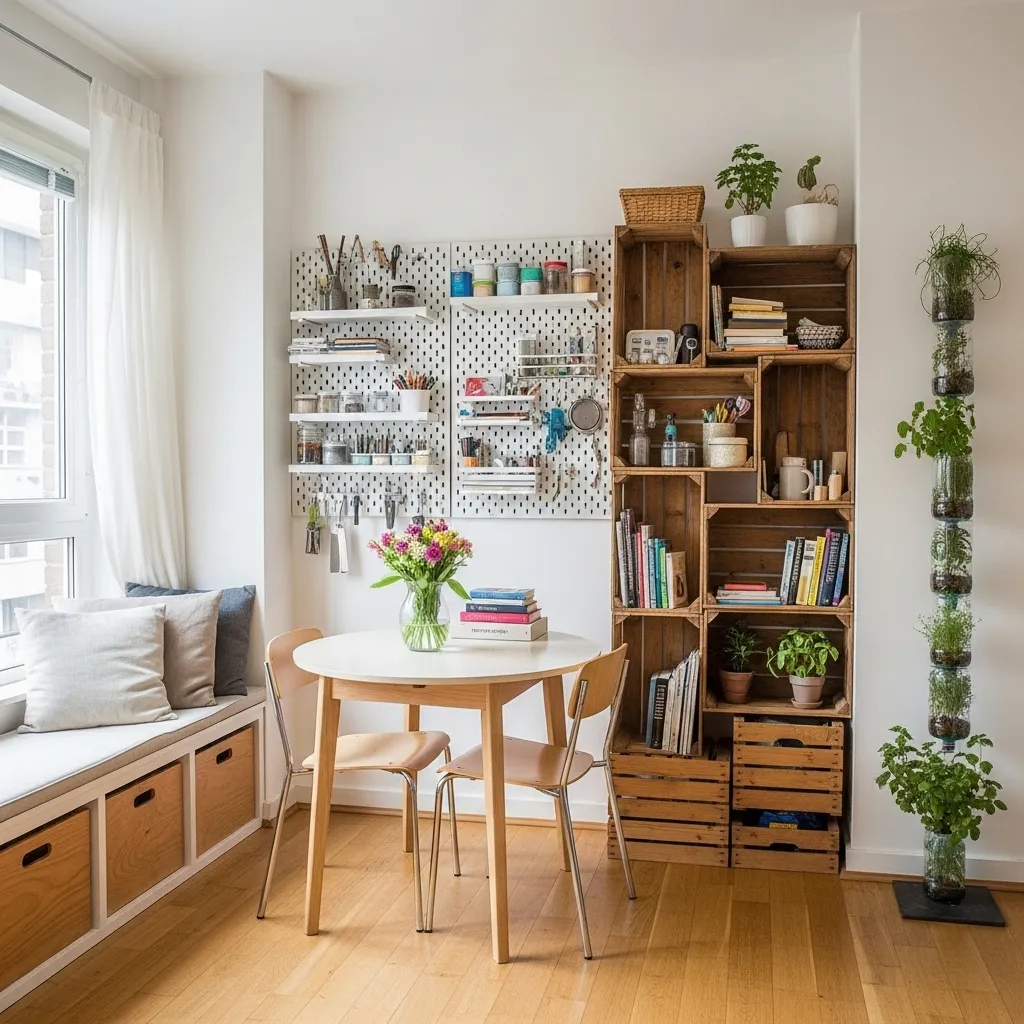
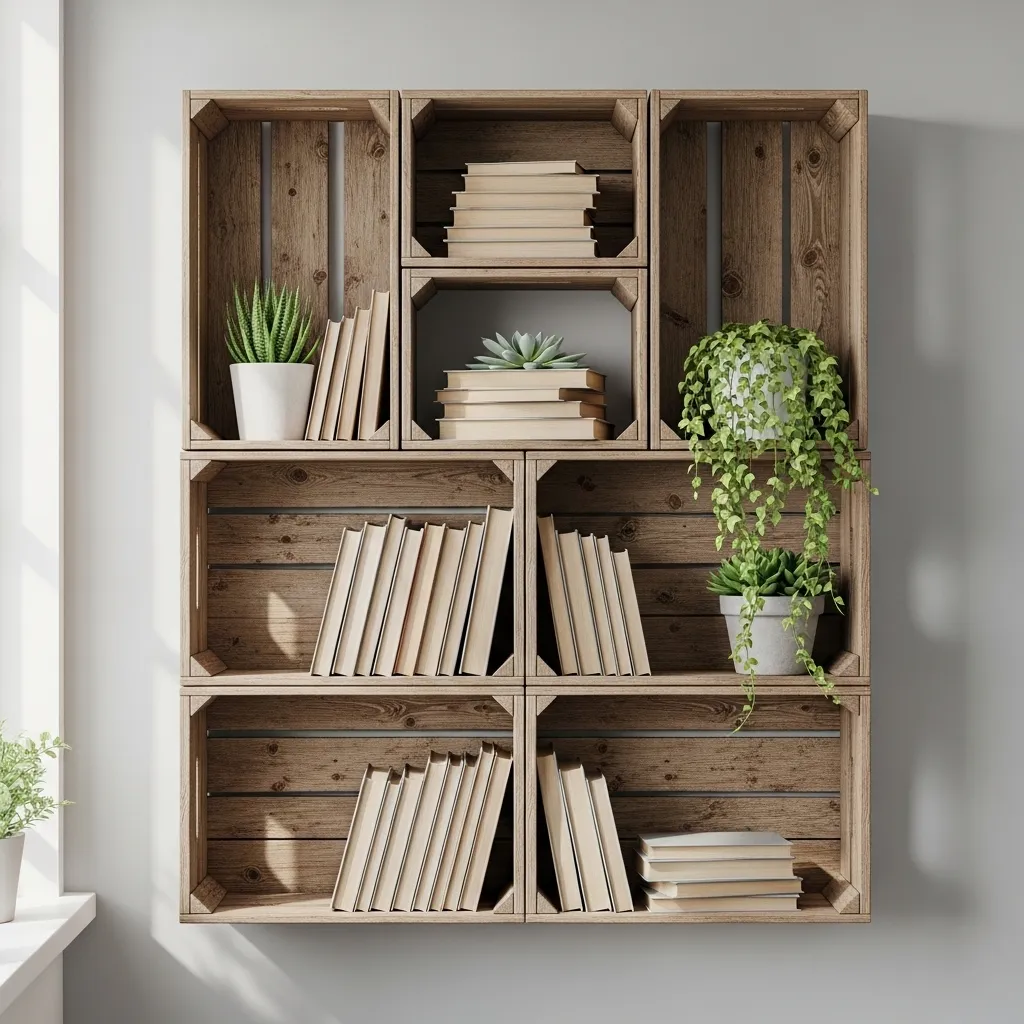
4. Repurposed Crate Shelving
Grab a few wooden crates from a craft store or flea market. You can leave them rustic or paint them to match your decor. Stack them horizontally or vertically to create instant, modular shelving.
I use mine in my living room for books and plants, and in my entryway for shoes and bags. They add storage and character without taking up much floor space.
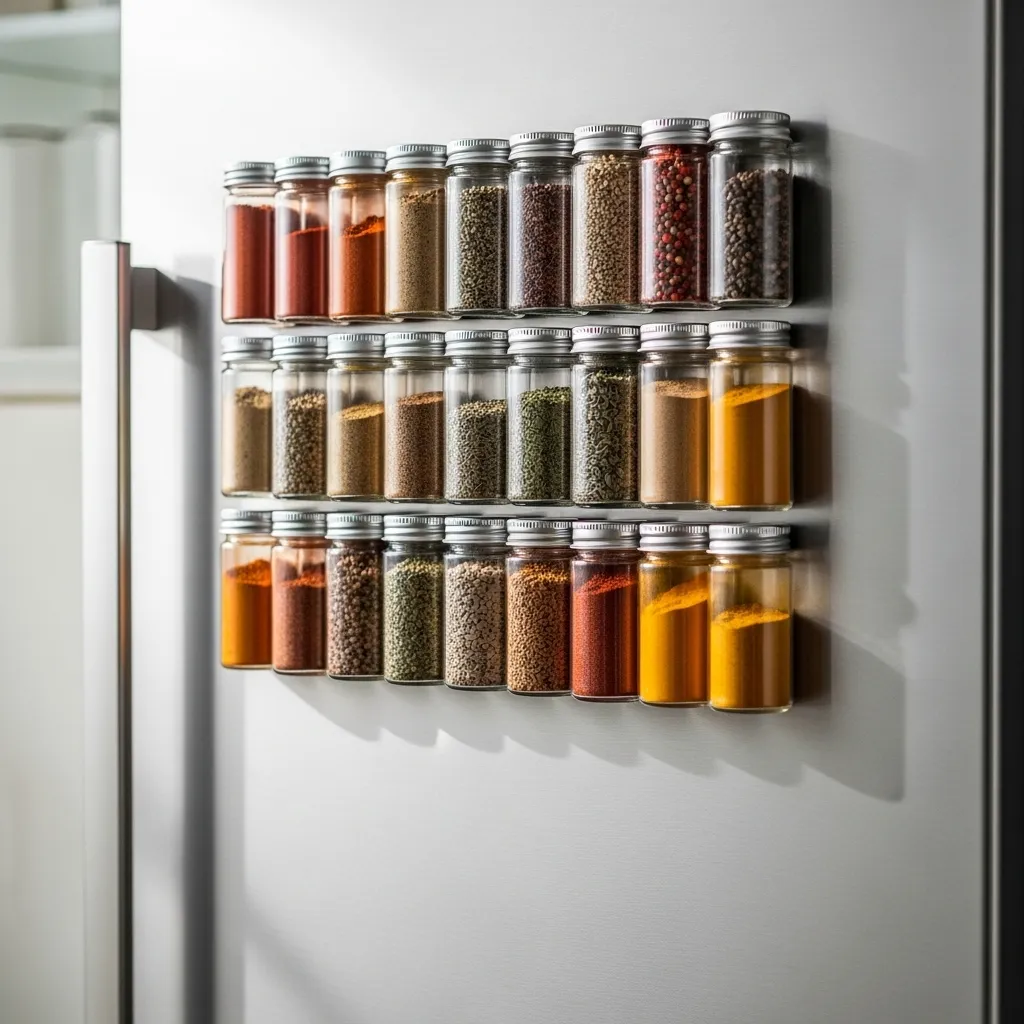
5. Magnetic Spice Jars for the Fridge
Free up precious cabinet space by moving your spices to the side of your fridge. Get small, uniform jars and glue strong magnets to the lids.
Now your spices are visible, easy to grab while cooking, and off your counter. This trick also works brilliantly for storing bobby pins, sewing needles, or small tools on a metal strip.
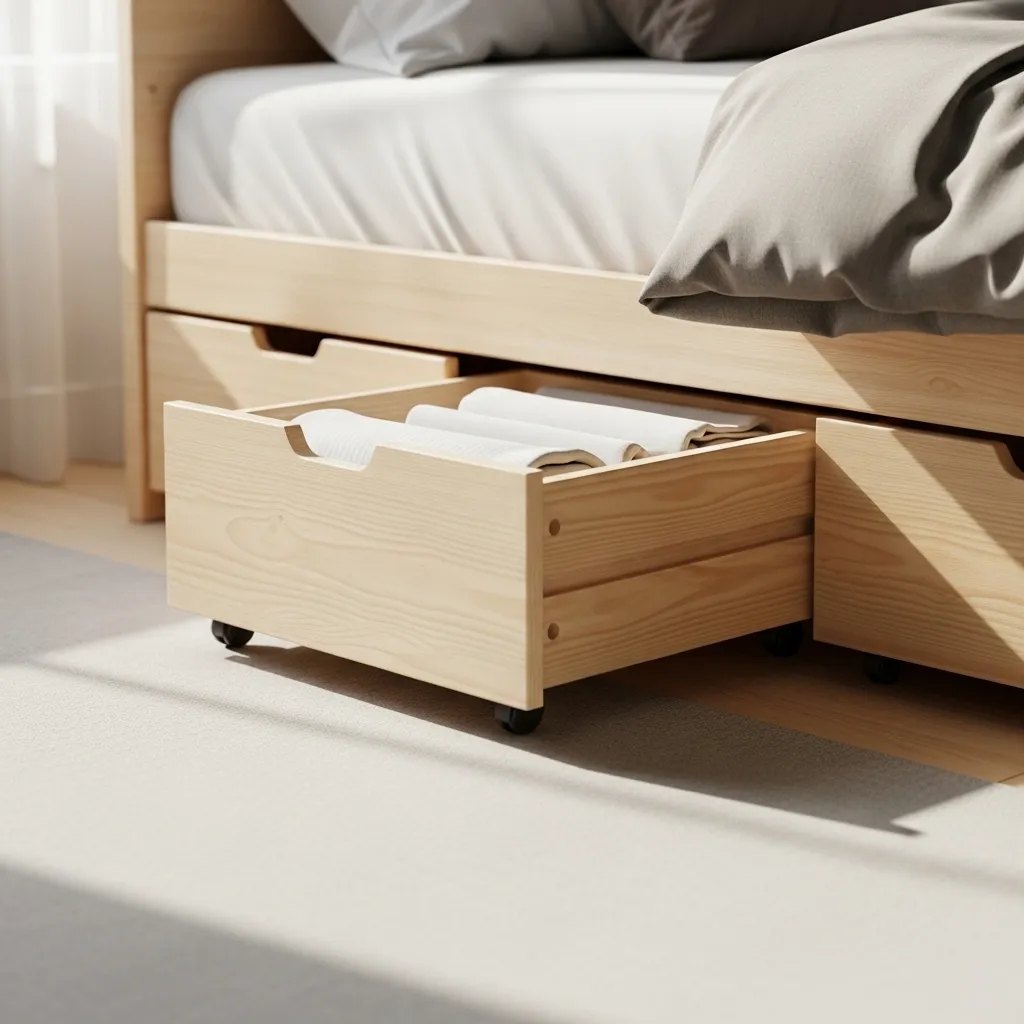
6. Under-Bed Storage Drawers on Wheels
That space under your bed is prime real estate. Don’t just shove things under there—build shallow, wheeled drawers. You can use simple wood planks or even repurpose old dresser drawers.
I store off-season clothing, extra bedding, and holiday decorations in mine. The wheels make it effortless to slide them out and access everything.
7. Hanging Fruit Basket for Produce or Toys
A macramé or metal hanging basket isn’t just for the kitchen. Suspend one in a corner of a child’s room or play area to corral stuffed animals or balls.
In the kitchen, it keeps countertops clear and allows air to circulate around your fruits and veggies, helping them last longer. It’s a functional and decorative touch.

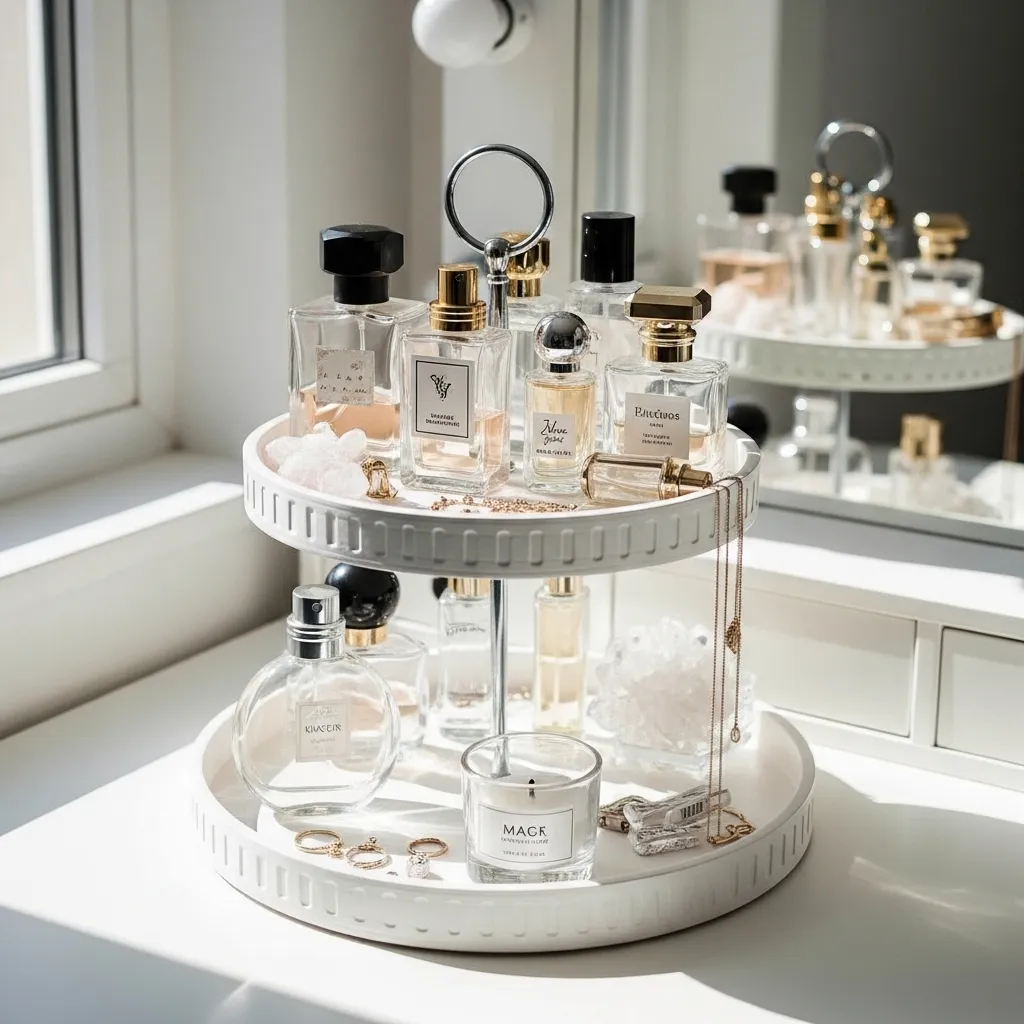
8. Tiered Tray for Vanity or Desk
Create vertical storage on your desk or bathroom counter with a DIY tiered tray. You can use candlesticks glued to plates or cake stands, or stack sturdy boxes.
This gives you multiple levels to organize perfumes, daily skincare, pens, and notepads. It looks pretty and keeps essentials within arm’s reach without spreading out.
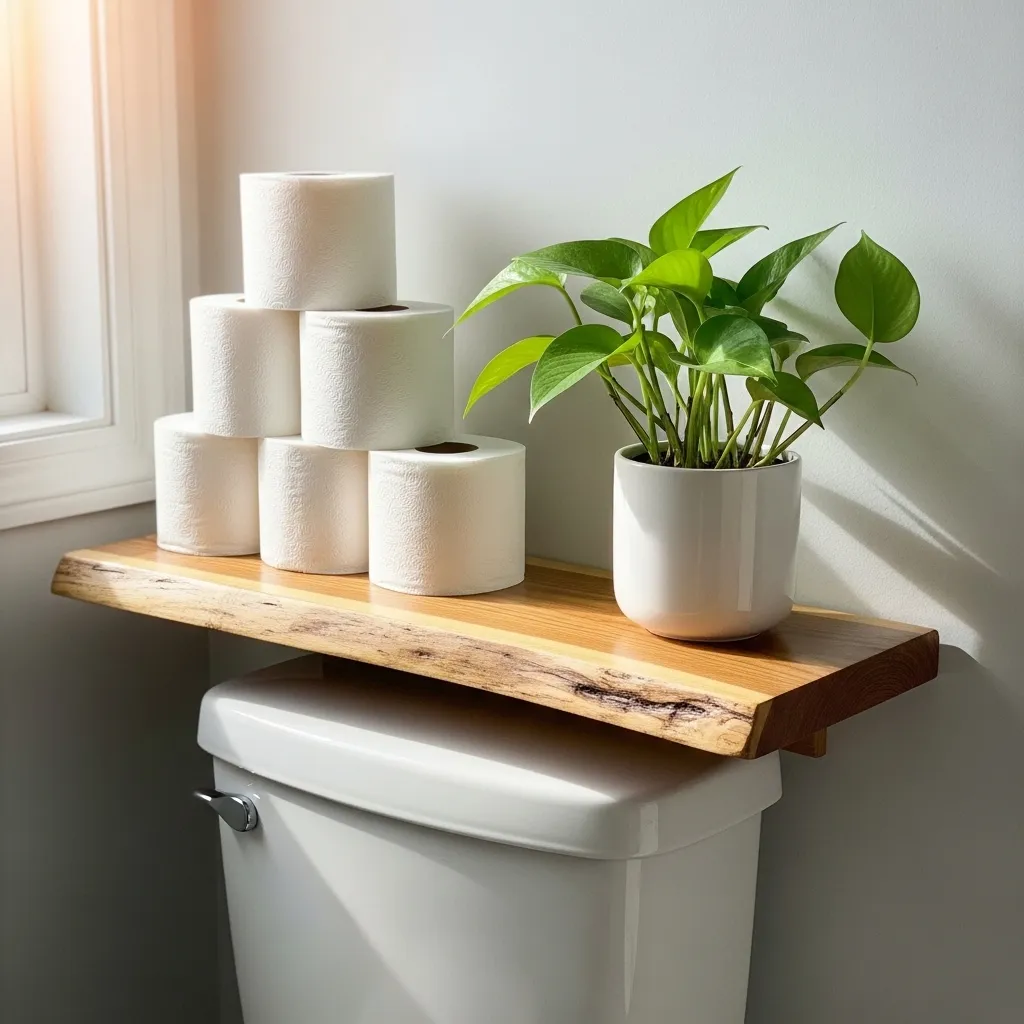
9. Toilet Tank Shelf
The top of your toilet tank is often wasted space. Building a simple, freestanding shelf that sits over the tank gives you a whole new surface for storing extra toilet paper, towels, or decorative baskets.
Just make sure it’s stable and allows easy access to the tank lid for maintenance. It’s a genius solution for tiny bathrooms.
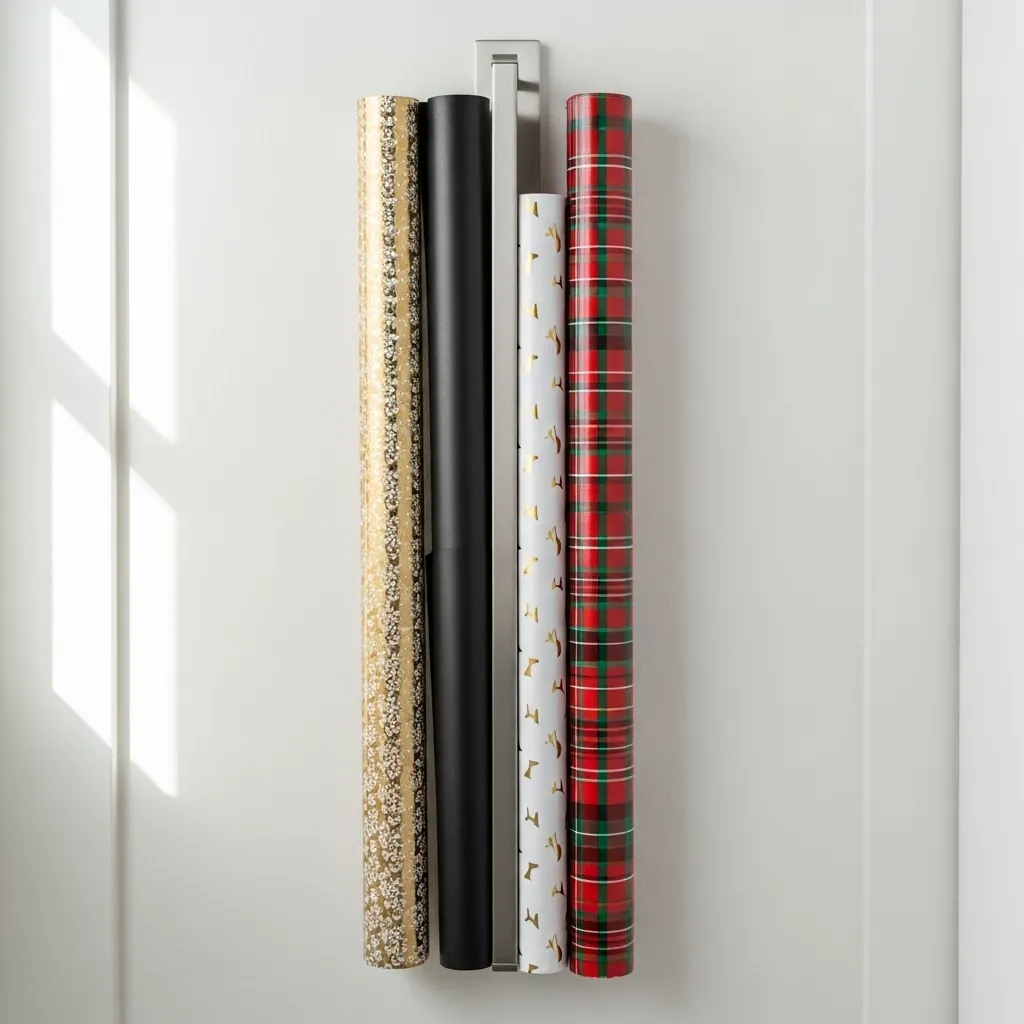
10. Paper Towel Holder for Wrapping Paper
Tame the unruly roll of wrapping paper with a simple paper towel holder mounted on the inside of a closet door or on a wall. Slide the rolls onto the bar to keep them neat, untangled, and easy to browse.
You can also use this for rolls of craft paper, ribbon, or even aluminum foil and plastic wrap in the kitchen.
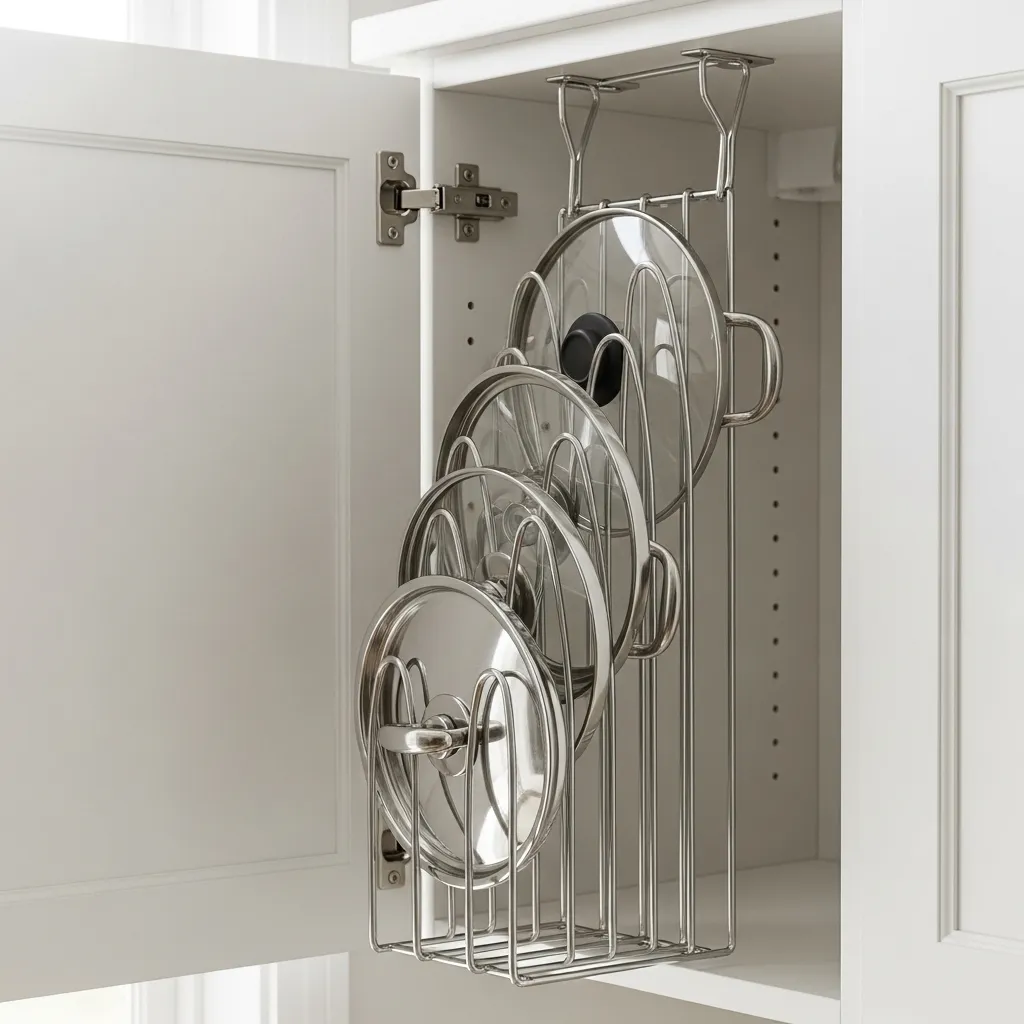
11. Hanging Pot Lid Organizer
Pot lids are notoriously difficult to store. Install a simple towel rack or a few sturdy hooks on the inside of a cabinet door. Hang the lids by their handles.
This frees up so much room in your pots and pans cabinet and prevents that loud clattering noise every time you open the door. It’s a simple fix with huge impact.
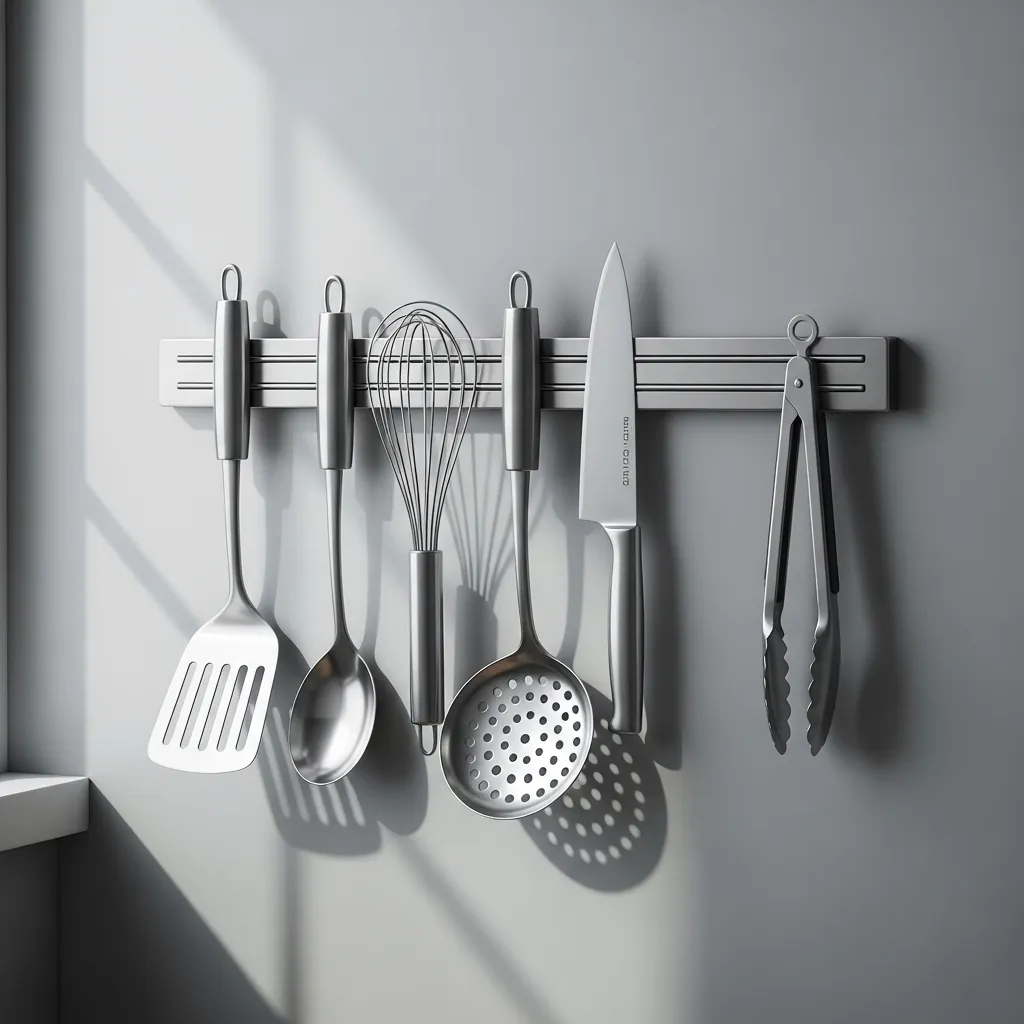
12. Magnetic Knife Strip for Utensils
Get your knives and metal cooking utensils off the counter and onto the wall. A magnetic knife strip is safe and sleek. But don’t stop there—I use a smaller one inside my bathroom medicine cabinet to hold tweezers, nail clippers, and bobby pins.
It’s all about using vertical space and keeping small items from getting lost in drawers.
13. Corner Shelf with Tension Rods
Utilize that awkward corner in your shower or under a sink. Install two tension rods in a corner, one high and one low. Then, place a small, rectangular shelf or basket on top of the rods.
You’ve just created a stable, corner shelf without any drilling! It’s perfect for holding shampoo bottles, cleaning sprays, or bathroom essentials.

Wrapping Up
Living in a small space doesn’t mean you have to live with clutter. With a little creativity and these simple DIY projects, you can create a home that feels organized, spacious, and uniquely yours. Start with one project that solves your biggest pain point, and you’ll be hooked on the feeling of a perfectly organized nook.
Small Space Organizer FAQ
Q: I’m not handy at all. Which project is the easiest?
A: Definitely start with the over-the-door shoe organizer (#1) or the hanging fruit basket (#7). They require zero tools and can be set up in minutes for instant organization.
Q: What’s the most affordable DIY on this list?
A: The tension rod dividers (#2) and the paper towel holder for wrapping paper (#10) are super cheap. You can often find the materials at a dollar store or repurpose items you already have.
Q: How do I make my DIY organizers look nice, not cheap?
A: Use a consistent color palette with paint or decorative contact paper. Sand wooden pieces for a smooth finish, and choose materials like natural wood or metal that add texture and feel intentional.
Q: Can I do these in a rental without damaging walls?
A> Absolutely! Projects like the over-the-door organizers, tension rod solutions, and freestanding crate shelves use no permanent hardware. For walls, use removable adhesive hooks or strips designed for rentals.
Q: Where do I find the materials for these projects?
A> Check thrift stores, dollar stores, and hardware stores first. Online marketplaces are great for specific items like pegboard hooks. Always look at what you already own with a “could I repurpose this?” mindset.