10 Cheap & Easy DIY Bathroom Flooring Ideas You Can Do This Weekend
Let’s be real: bathroom renovations can get expensive fast. When I wanted to update my own bathroom floors, the quotes I got were enough to make me gasp. But I knew there had to be a better way. I dove into the world of DIY and discovered that with a little creativity, you can achieve a stunning look without the stunning price tag.
The secret is choosing projects that are forgiving for beginners and use affordable materials. You don’t need to be a master tiler to transform your space. From peel-and-stick miracles to clever paint techniques, these ideas are all about maximum impact for minimal cost and effort. Trust me, if I can do it, you definitely can.
Ready to roll up your sleeves? Here are my top 10 favorite budget-friendly bathroom flooring projects that will make you feel like a design pro.
1. Peel-and-Stick Vinyl Tiles: The Instant Upgrade
This is my go-to recommendation for anyone starting their DIY flooring journey. Modern peel-and-stick tiles are a universe away from the dated sheets of the past. They come in incredible designs that mimic ceramic, stone, or even fun geometric patterns.
The installation is as simple as it sounds: clean your subfloor thoroughly, peel off the backing, and stick them down. The biggest tip? Take your time with alignment. Start from the center of the room and work your way out for the most professional look. It’s a nearly foolproof project you can finish in a day.

2. Painted Concrete: Unleash Your Inner Artist
If you have a concrete slab subfloor, don’t cover it up—celebrate it! Painting concrete is one of the most affordable routes you can take. After a good etch and clean, you can apply concrete-specific paint for a durable, water-resistant finish.
Get creative with stencils to create a faux tile or Moroccan-inspired pattern. I love using a simple checkerboard stencil with two contrasting colors. Seal it with a concrete sealer, and you have a custom floor that’s tough enough for any bathroom.
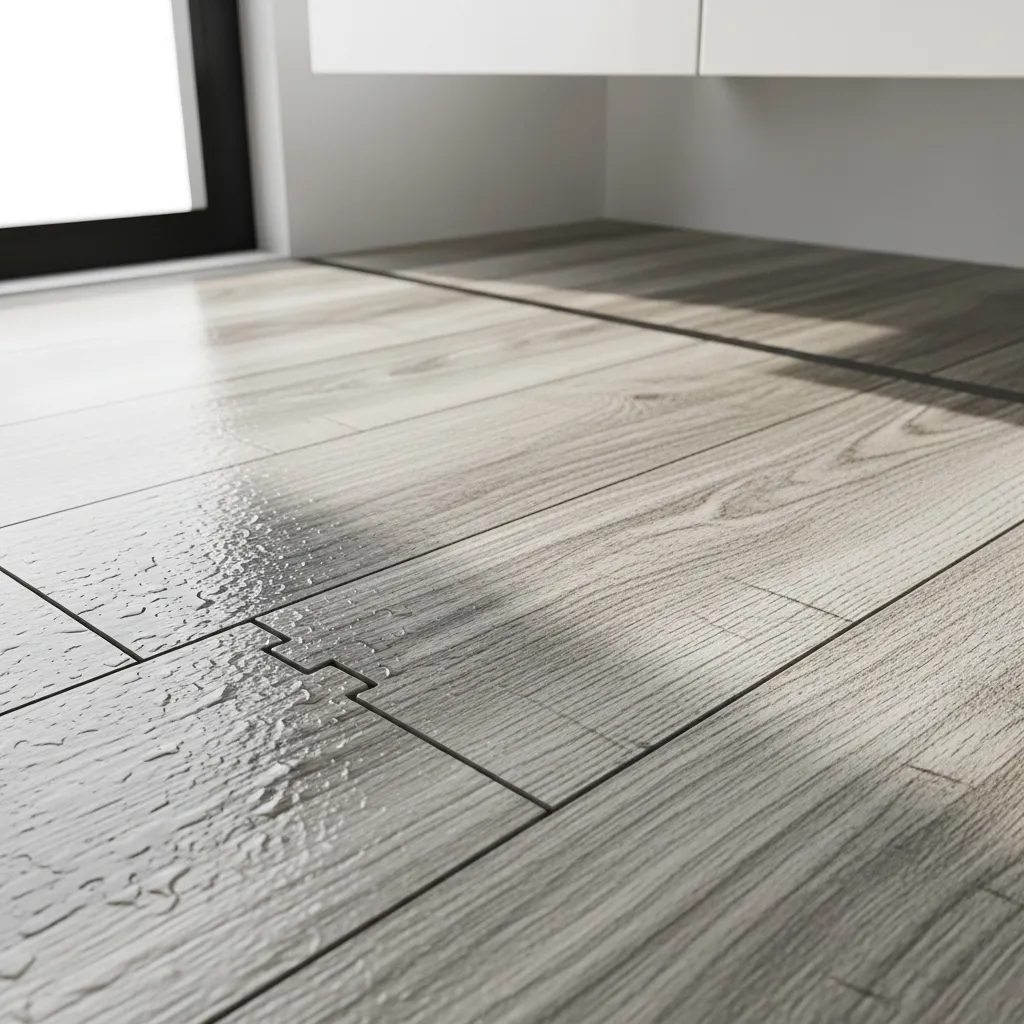
3. Luxury Vinyl Plank (LVP) Click-Lock
Don’t let the “luxury” name fool you—this is a very DIY-friendly and cost-effective option. LVP planks are 100% waterproof, which is perfect for bathrooms. They click together over your existing floor, often without needing glue.
The floating installation means you can cut planks with a utility knife and a straight edge. It looks incredibly realistic, like wood or stone, but it’s soft underfoot and easy to maintain. It’s the project that makes everyone ask, “You did that yourself?!”
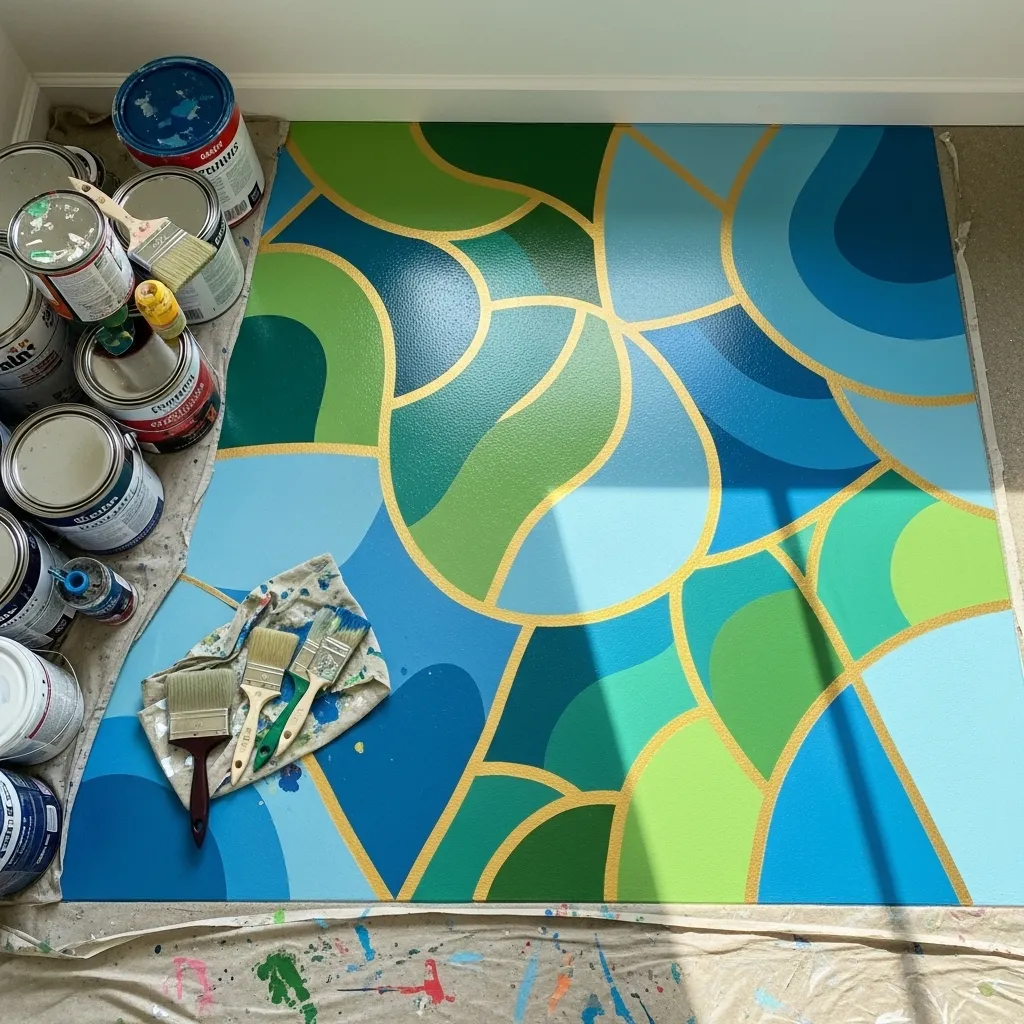
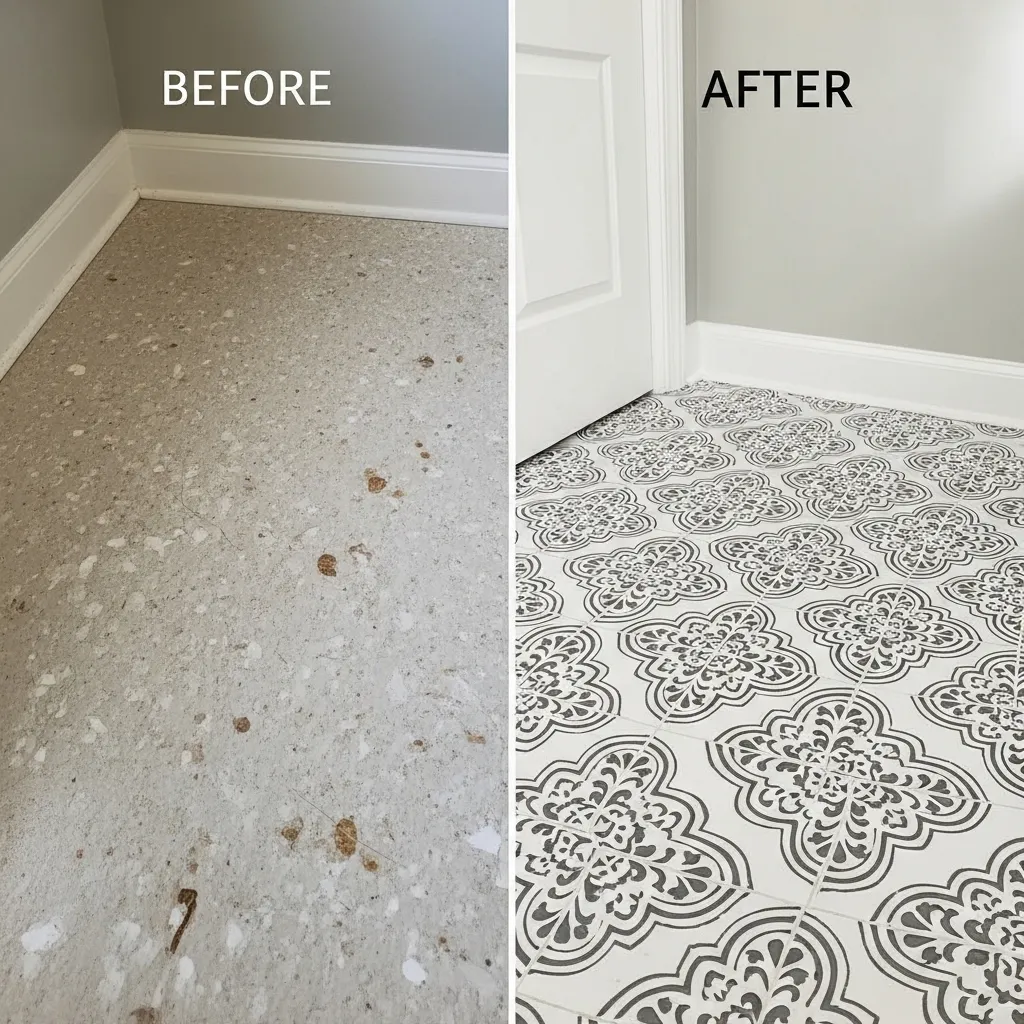
4. Stenciled Plywood Subfloor
Here’s a brilliant hack: use your plywood subfloor as the final floor! Sand it smooth, fill any gaps, and give it a base coat of porch and floor paint. Then, the magic happens with a floor stencil.
You can create the look of expensive encaustic cement tiles or a classic black-and-white pattern for a fraction of the cost. The key is using a dense foam roller for the stencil paint and sealing everything with multiple coats of water-based polyurethane.

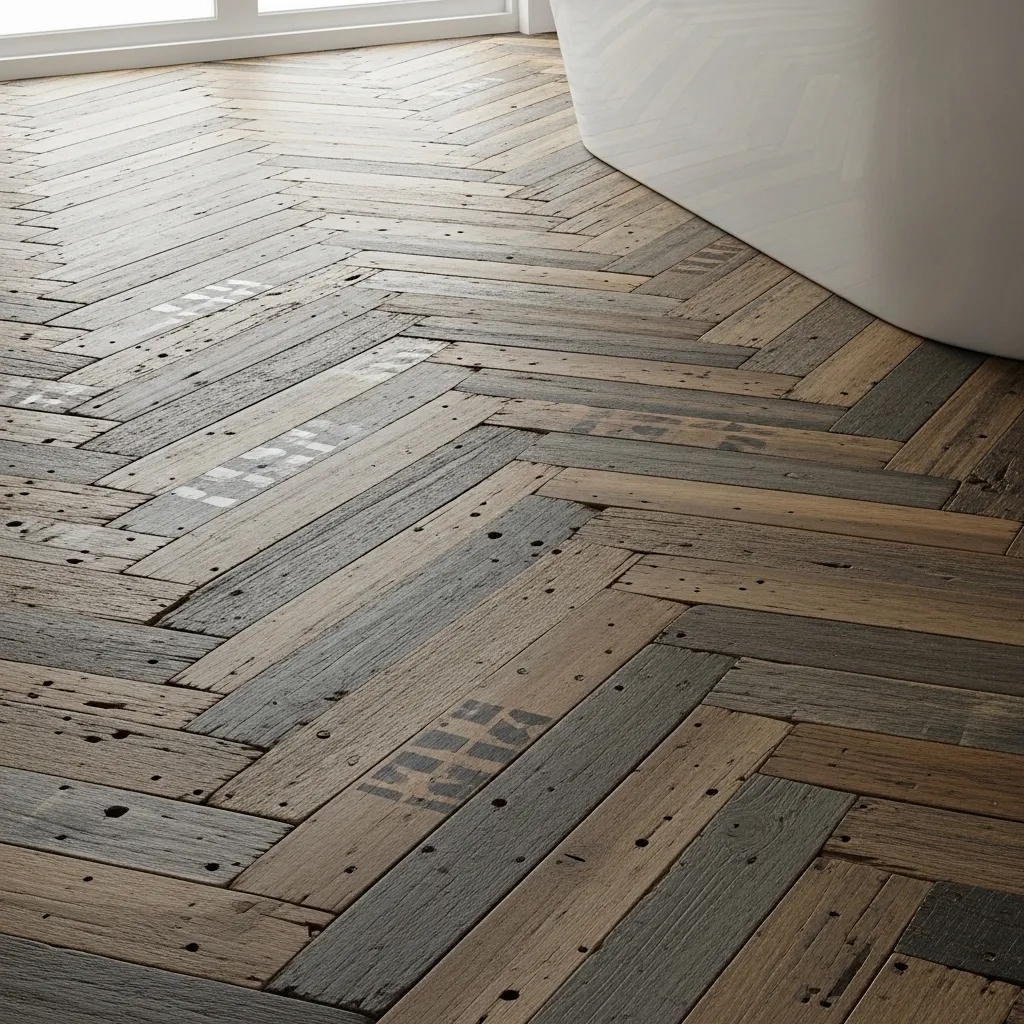
5. Reclaimed Wood Pallet Planks
For a warm, rustic vibe, reclaimed wood is unbeatable. Pallets are often free, and breaking them down into planks is a satisfying project. You’ll need to sand them thoroughly and treat them for bathroom use.
I recommend using an exterior-grade polyurethane or a dedicated hardwood floor sealant for maximum water protection. The variations in the wood tell a story, and no two floors will ever be the same. It’s eco-friendly and full of character.
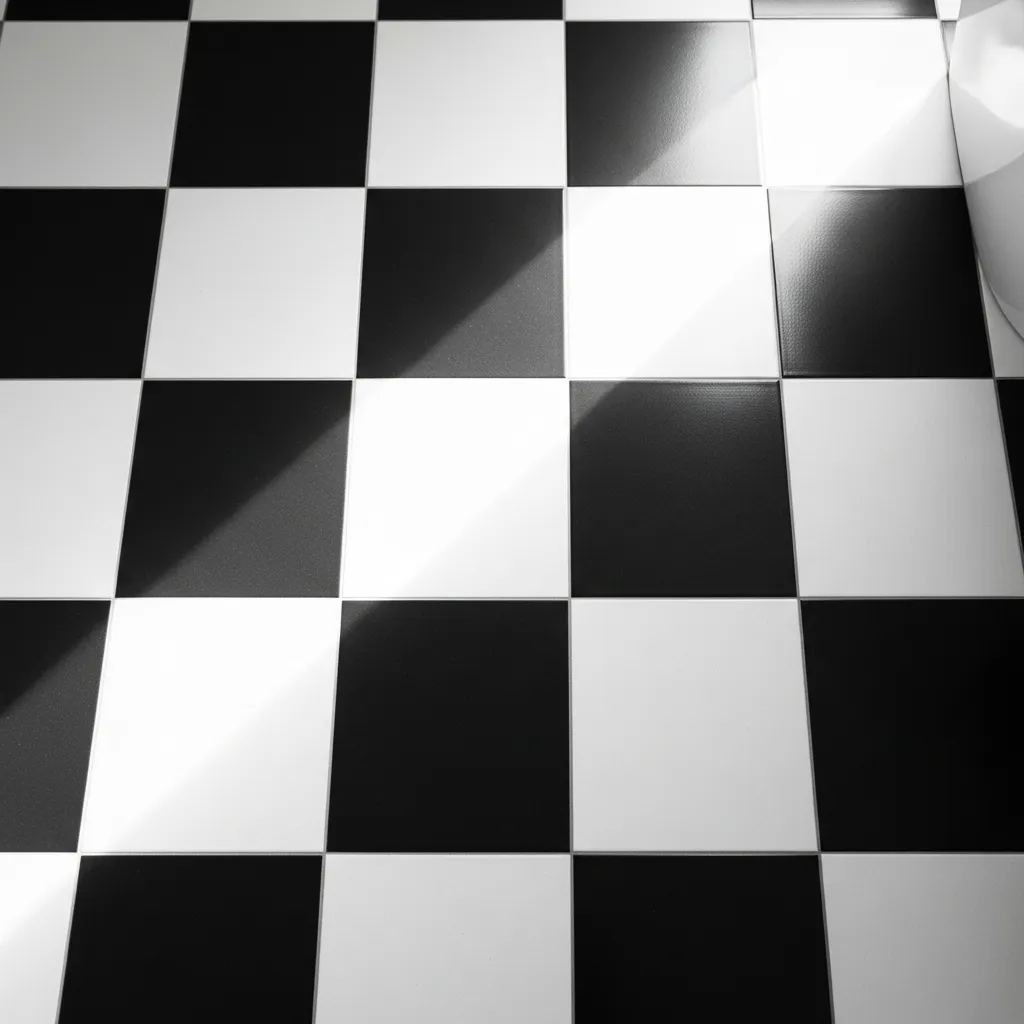
6. Classic Black & White Checkerboard
This timeless look never goes out of style and is easier to achieve than you think. You can use alternating black and white peel-and-stick vinyl tiles, or paint the pattern directly onto a primed vinyl or concrete floor.
If you’re painting, use painter’s tape to mark your grid. This pattern is bold, hides dirt between cleanings, and makes any bathroom feel crisp and classic. It’s a high-impact look with a low-impact budget.
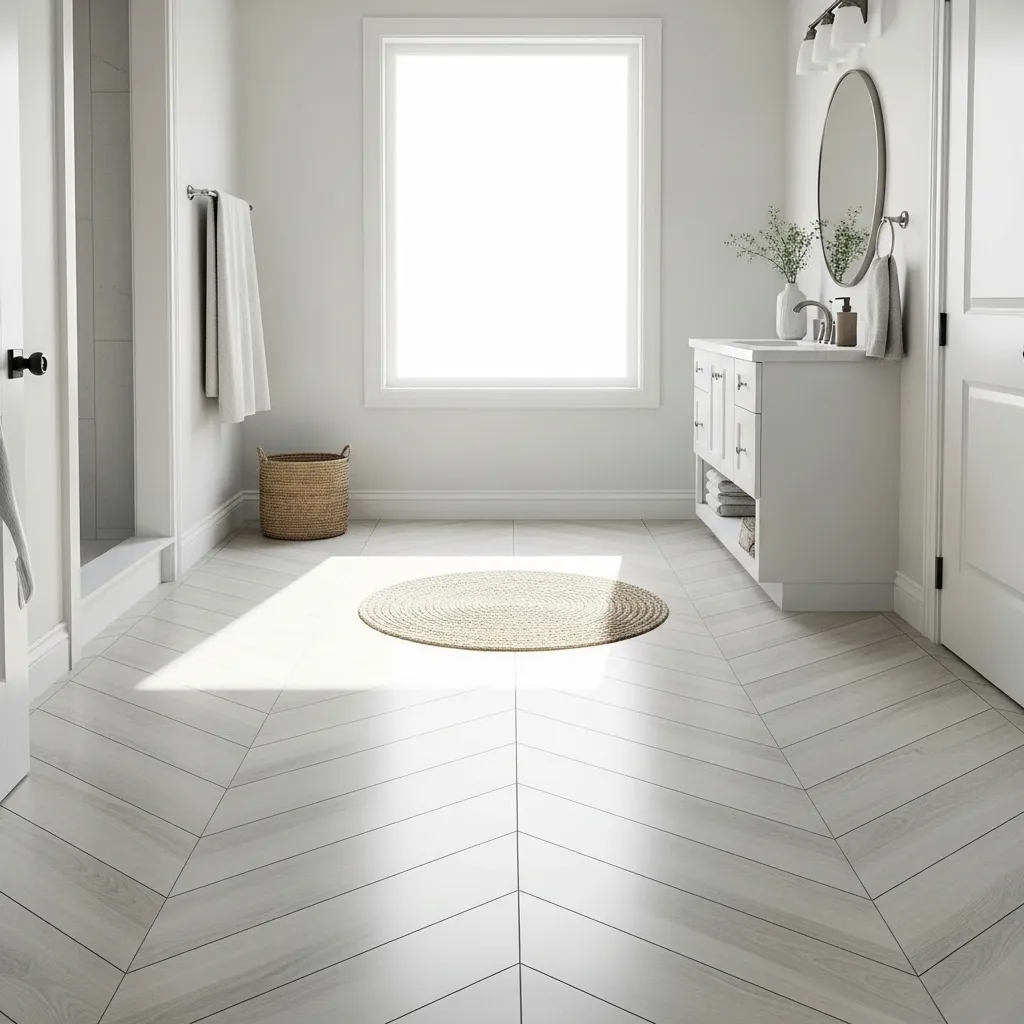
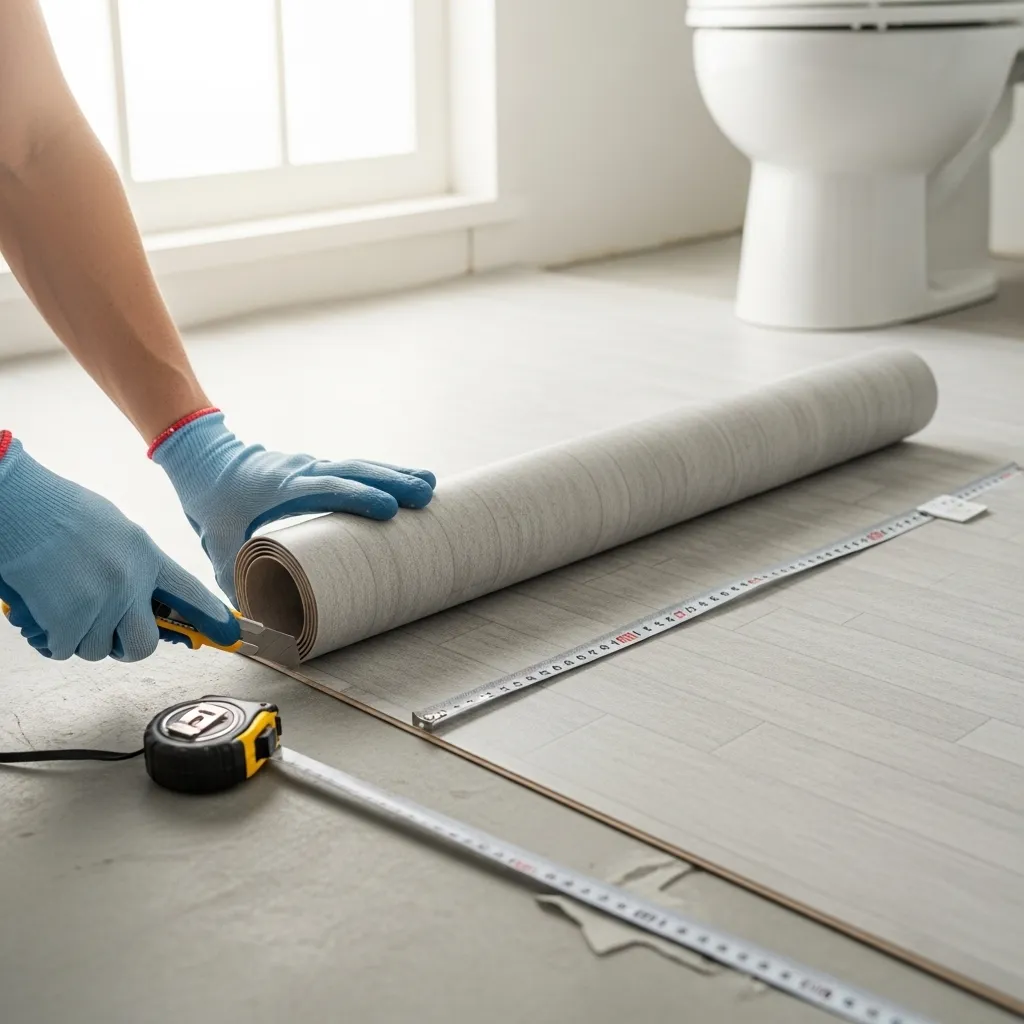
7. Sheet Vinyl: The Budget Workhorse
Don’t overlook simple sheet vinyl. Today’s options include beautiful textures and patterns. It’s the most water-resistant option on this list, as it has few to no seams for moisture to seep through.
Installation involves rolling it out, trimming it to fit with a utility knife, and securing the edges with adhesive or trim. For a small bathroom, you can often buy a remnant for a deep discount. It’s practical, soft, and incredibly easy to clean.
8. Painted & Stenciled Old Vinyl
Have old, tired vinyl flooring you can’t afford to rip out? Give it a makeover! After a deep clean and a light sanding, prime it with a bonding primer designed for slick surfaces.
Then, paint it with porch and floor paint. You can leave it a solid, refreshed color or add a stencil pattern on top. Seal it with a clear topcoat. It’s a fantastic way to breathe new life into what you already have.
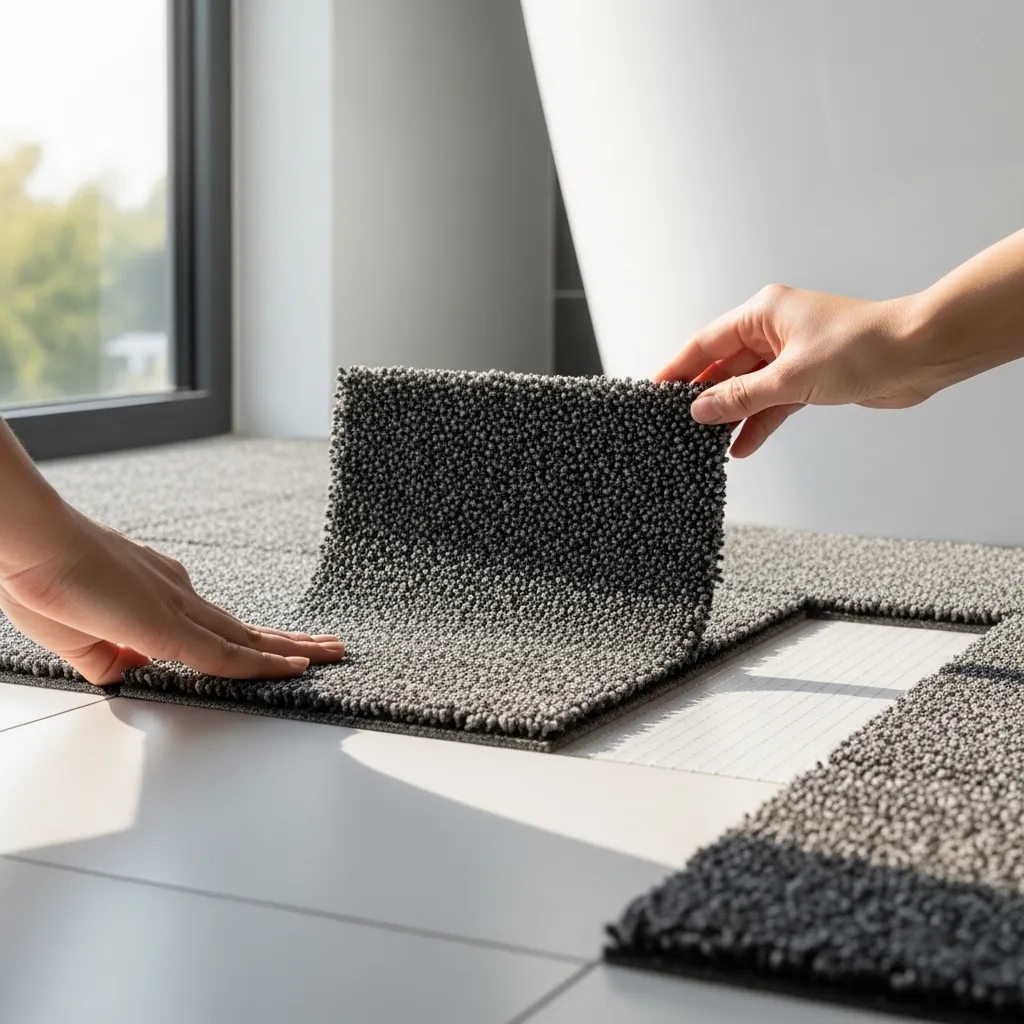
9. Self-Adhesive Carpet Tiles
Hear me out—this isn’t for a wet area by the shower, but for a powder room or half-bath, it adds amazing warmth and comfort. Indoor/outdoor carpet tiles are moisture-resistant and easy to install.
If one tile gets stained, you simply peel it up and replace it. They come in modern colors and textures. It’s a cozy, unexpected solution that makes a small bathroom feel instantly inviting.
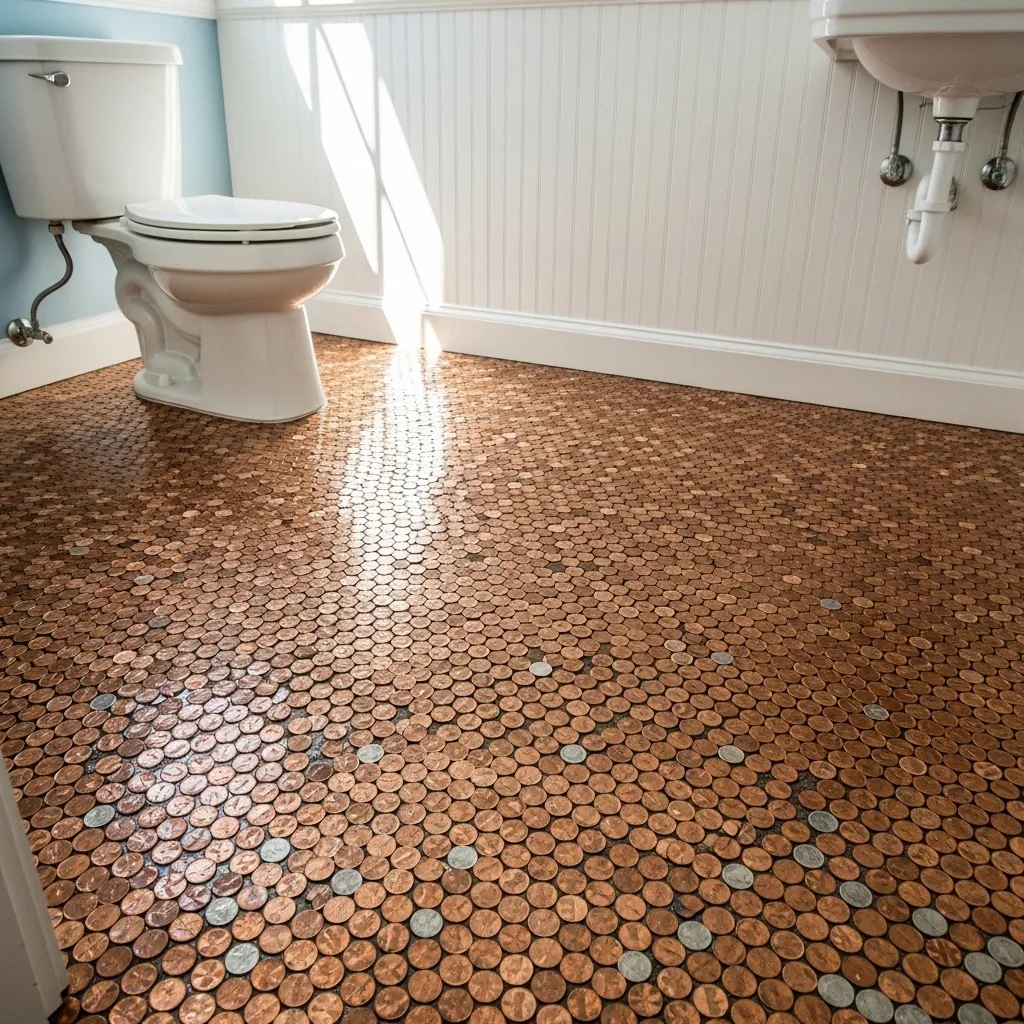
10. DIY Penny Floor
For a truly unique, conversation-starting floor, try a penny floor. It’s a labor of love, but the material cost is just pennies (literally), clear epoxy resin, and a sealant.
You glue the pennies (clean them first!) in your chosen pattern onto a sturdy backer board, then pour a few coats of epoxy over the top to create a smooth, sealed, and waterproof surface. The result is a stunning, metallic mosaic that gleams.
Your New Bathroom Floor Awaits
See? A beautiful bathroom floor doesn’t require a contractor or a second mortgage. The best project is the one that fits your budget, your skill level, and makes you smile every time you walk in. Prep your space well, follow the instructions for your chosen materials, and don’t be afraid to make it your own. Happy DIYing!
DIY Bathroom Flooring FAQ
Q: What is the absolute easiest DIY bathroom floor for a beginner?
A: Hands down, peel-and-stick vinyl tiles. They require minimal tools, are very forgiving, and you can see results in just a few hours.
Q: How do I make sure my DIY floor is waterproof?
A: Always use materials rated for wet areas (check the label!) and seal any seams, edges, or painted surfaces with the manufacturer-recommended sealant. Proper prep and sealing are key.
Q: Can I install new flooring right over my old vinyl?
A: Often, yes! As long as the old floor is securely attached, perfectly smooth, and clean, you can install peel-and-stick tiles, LVP, or even sheet vinyl over it. Never install over soft, loose, or damaged flooring.
Q: What’s the most important step in any flooring project?
A> Preparation. A perfectly clean, dry, and smooth subfloor is 90% of the battle. Skipping prep leads to bumps, poor adhesion, and a shorter lifespan for your beautiful new floor.
Q: I’m on a super tight budget. What’s my best bet?
A: Painting is your friend. A painted concrete or stenciled plywood floor costs very little in materials. If you have existing vinyl, a paint refresh is the most budget-friendly update possible.